Recipes with Review, Likes, Favorites
NEW! Updated March, 2018, we are happy to introduce a huge new feature set for your customers to interact with recipes. No longer is your recipe page simply a static group of images that only display recipe information, now customers can save recipes, keep track of how many times they've made a recipe, save likes, submit reviews, share on social media, and more!
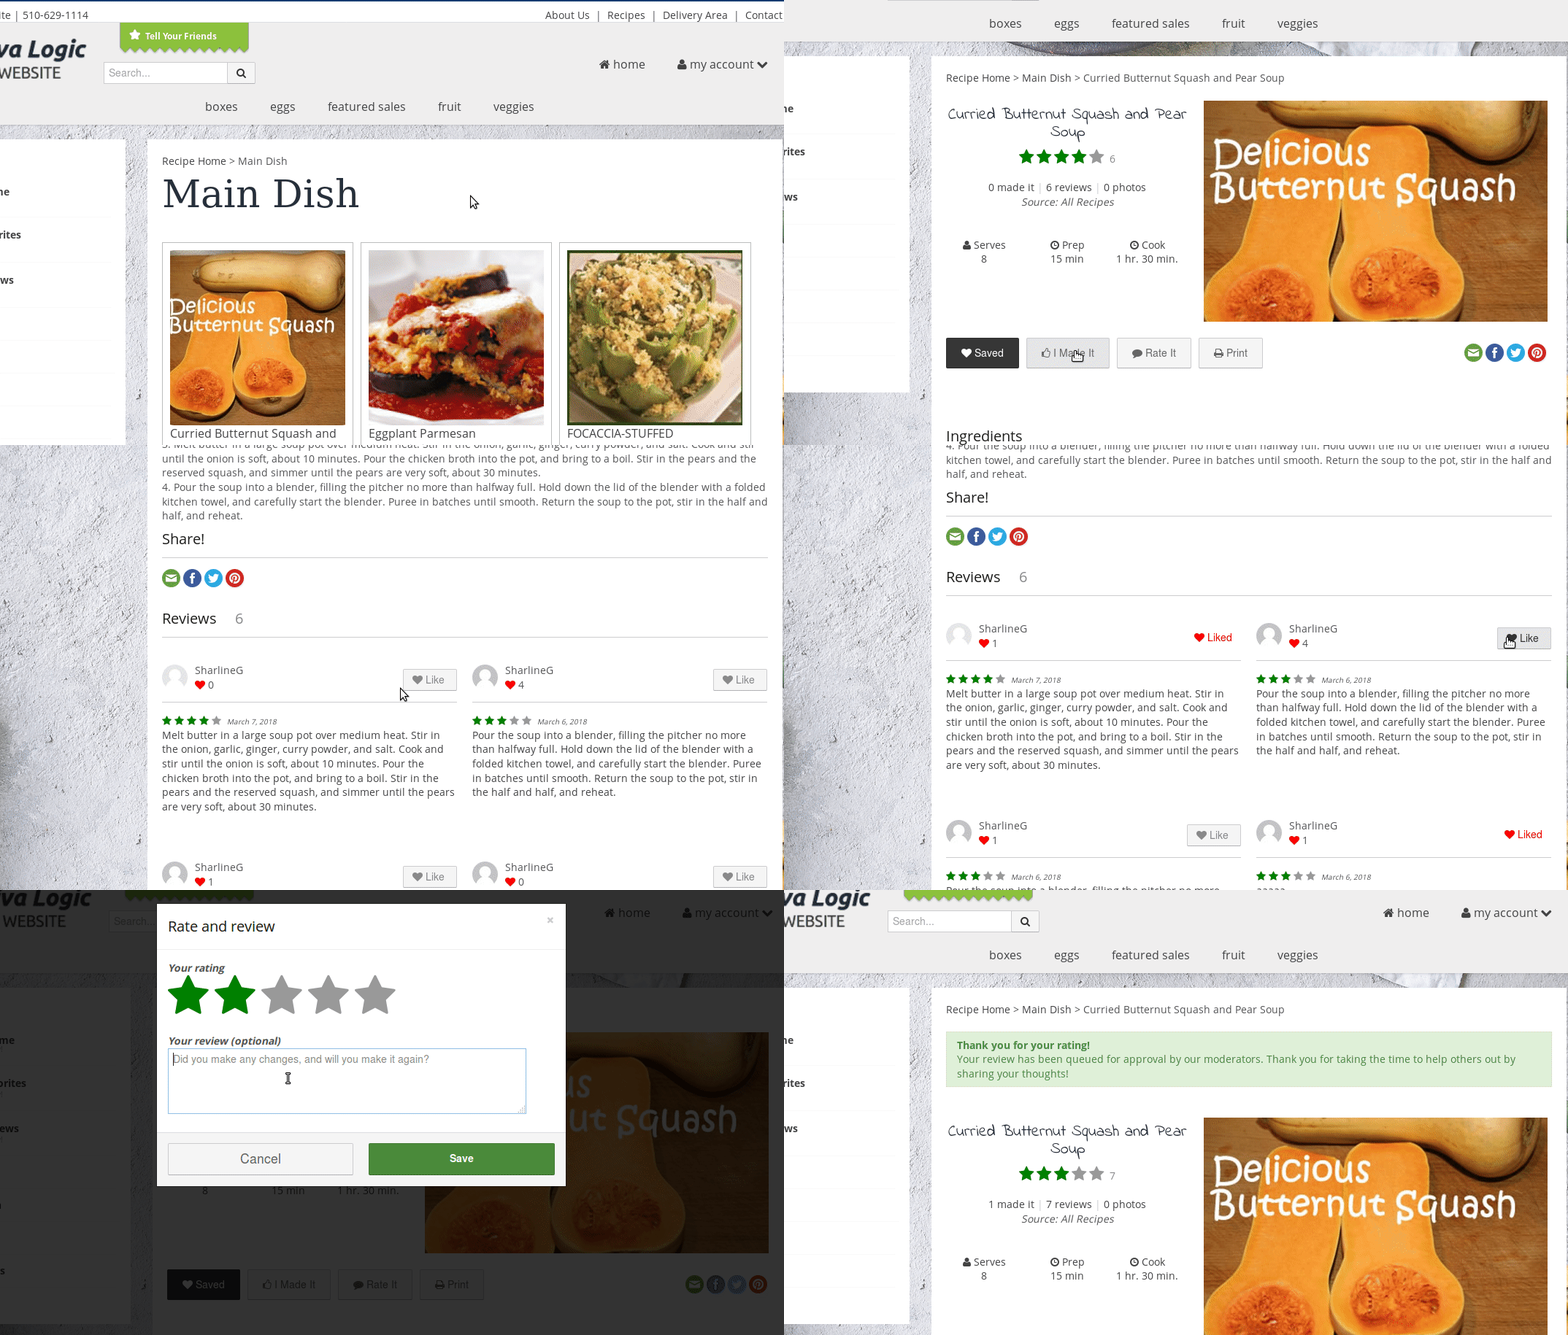
The Kiva Logic Recipes feature allows you to display a recipes page on your website, complete with categories, reviews, favorites, "I made it's!". Recipes can be automatically included in the weekly email, and displayed on the customer home screen.
The first page of the recipes section will show the latest recipes you have added, and if you have a "Recipe of the Week" it will be displayed first.
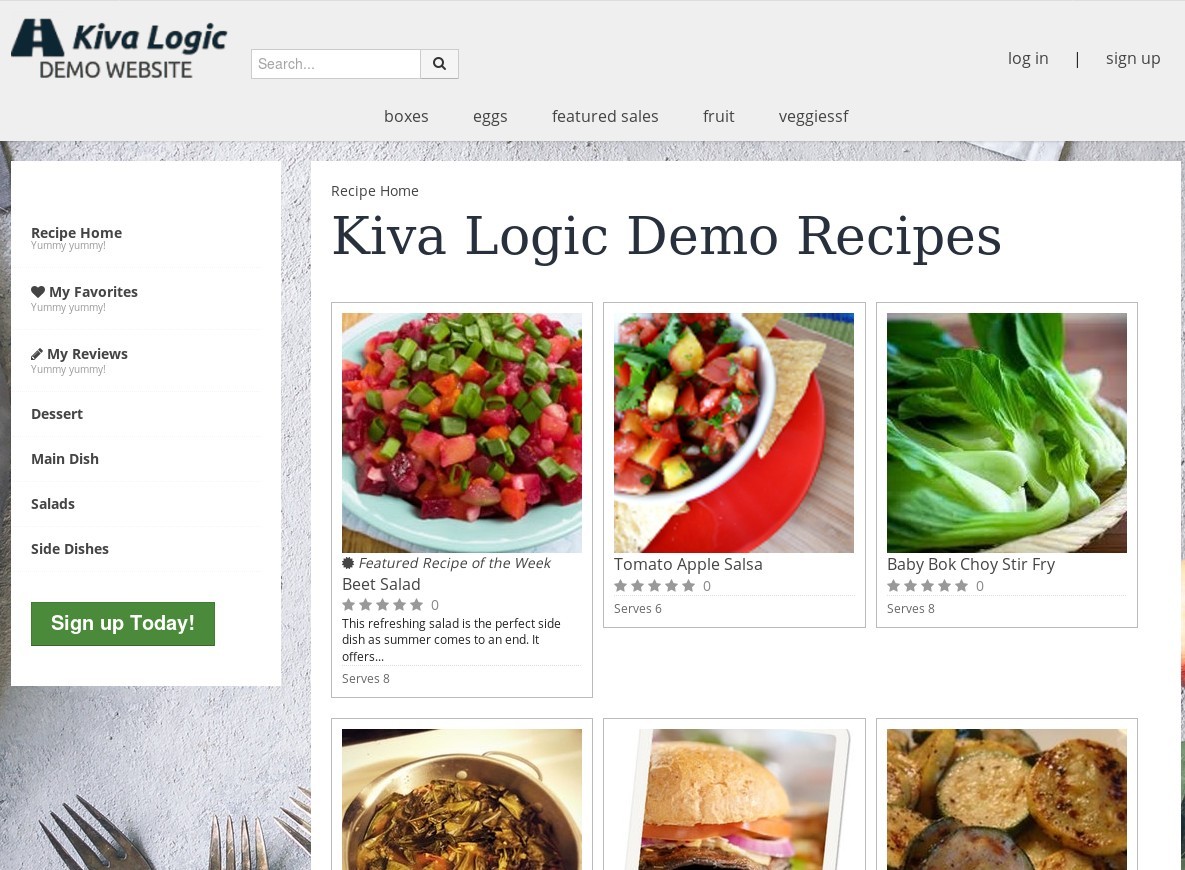
Customers can search or browse through the different recipe categories that you set up. Each recipe preview will contain an image, the name of the recipe, a shortened version of the description if available, and how many stars the recipe has. The number of ratings will also be displayed next to the star ratings.
Your recipe categories will be displayed in the left side navigation bar, along with pages for customers that are logged in called "My Favorites" and "My Reviews".
Recipe Front Side Overview
To view a recipe, customers simply click on a recipe. For this example, we'll click on "Beet Salad".
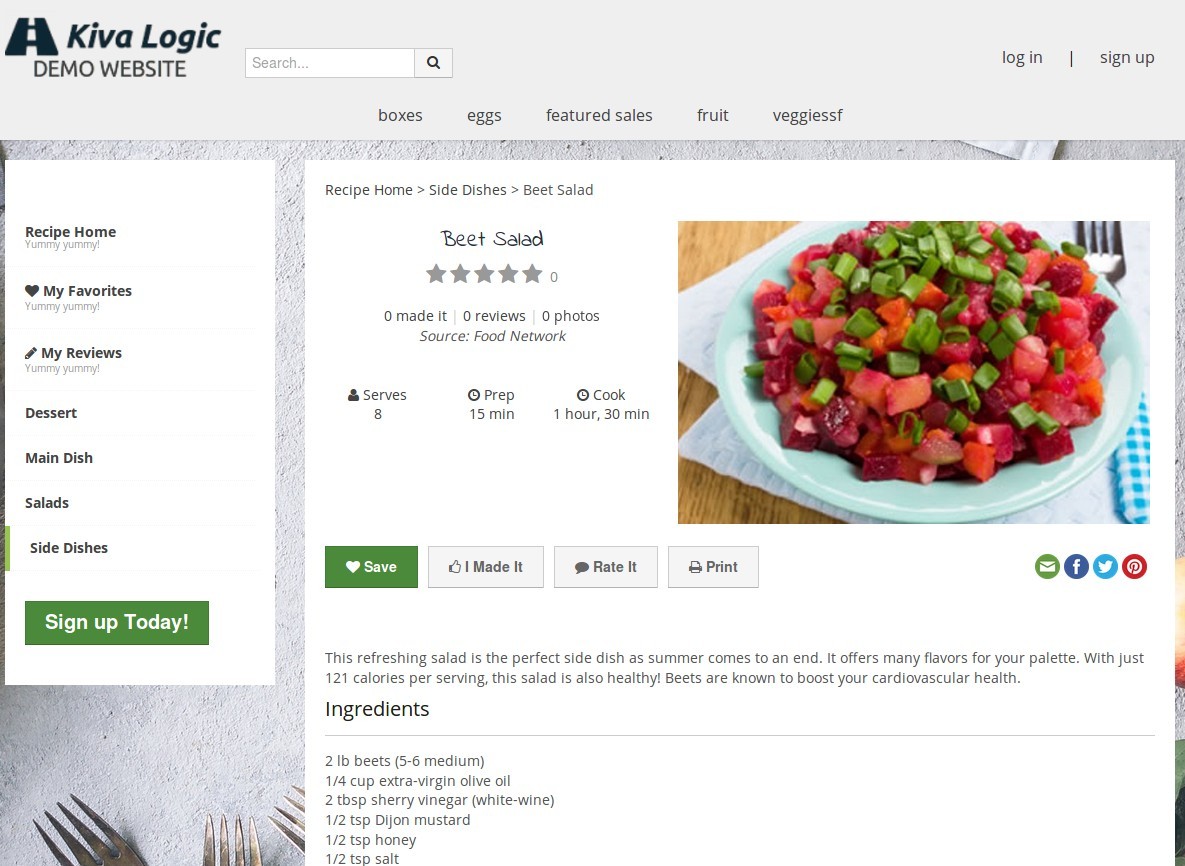
Each recipe detail page will display:
Recipe name
Customer rating
How many customers have made this recipe
How many reviews this recipe has
How many photos have been uploaded by customers
How many serving
Prep time
Cook time
Description
Ingredients
Directions
- Reviews
Save a recipe
When customers are logged in, with one click they can click the 'save' button to add a recipe to their favorites.
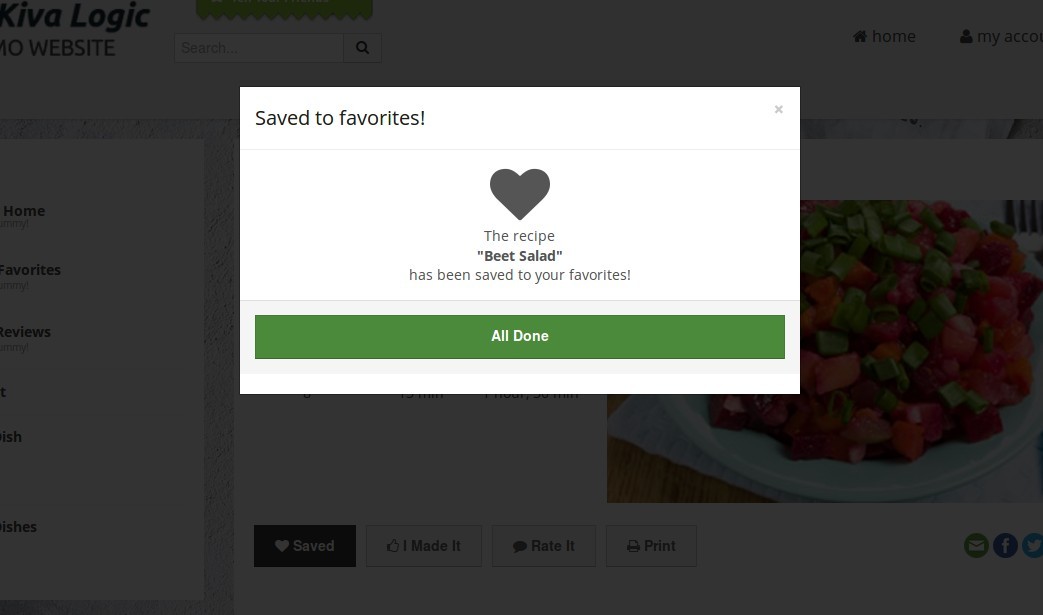
Now when a customer visits their recipe page, they will see their new favorite recipe 'Beet Salad' show up:
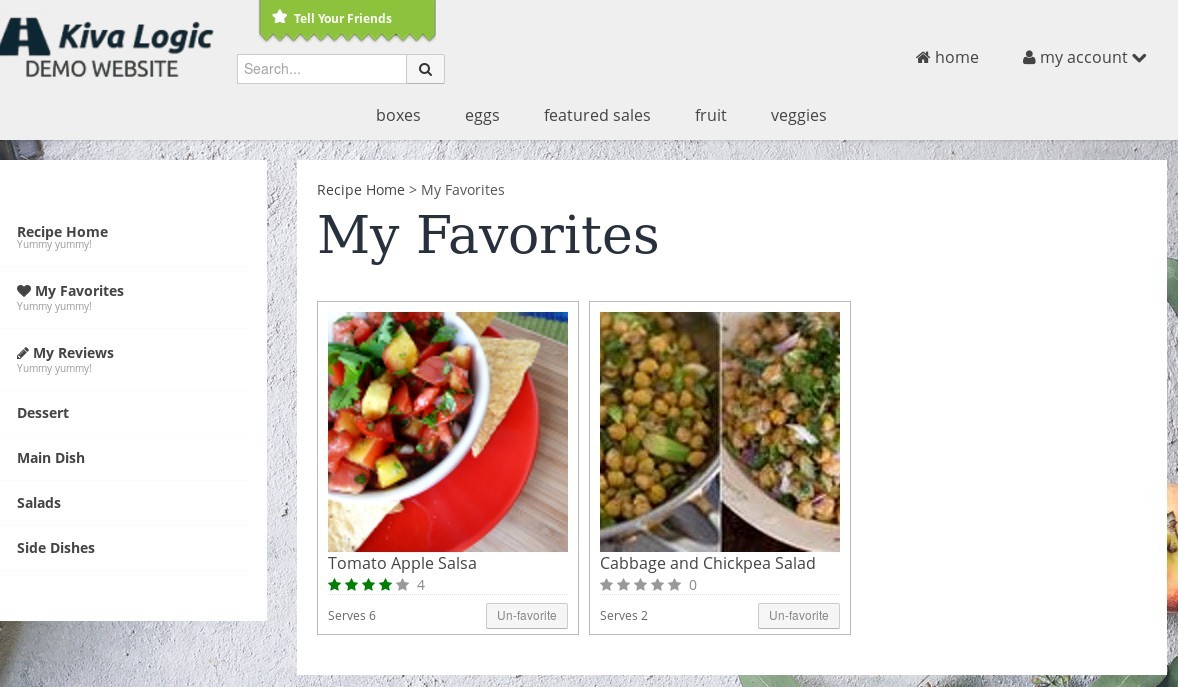
If the customer wants to remove a recipe from their favorites, they simply click the button that says 'un-favorite'.
I made it
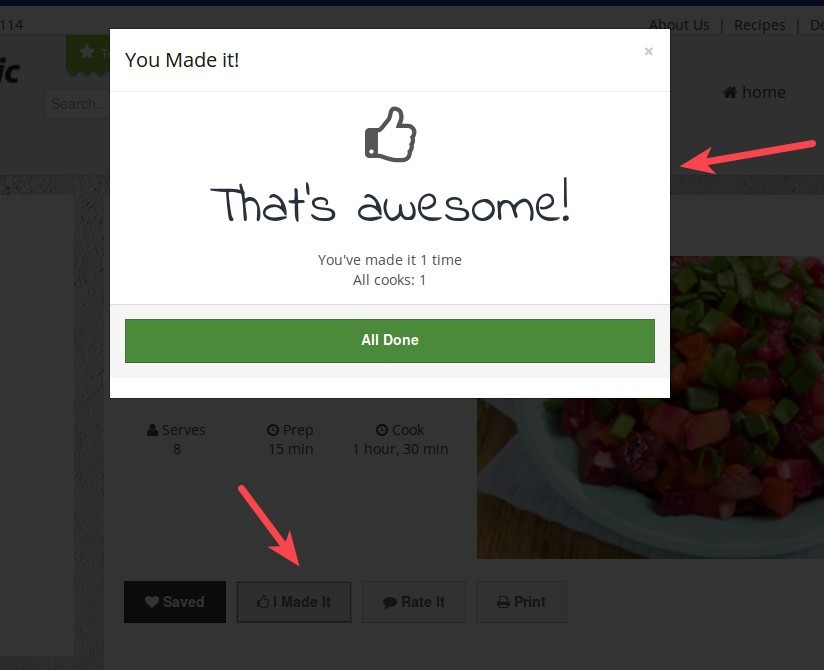
This feature allows customers to track which recipes they have made so far, and to also see how many times other customers have made the same recipe. To claim you made it, just click on the 'I made it' button:
Rate it
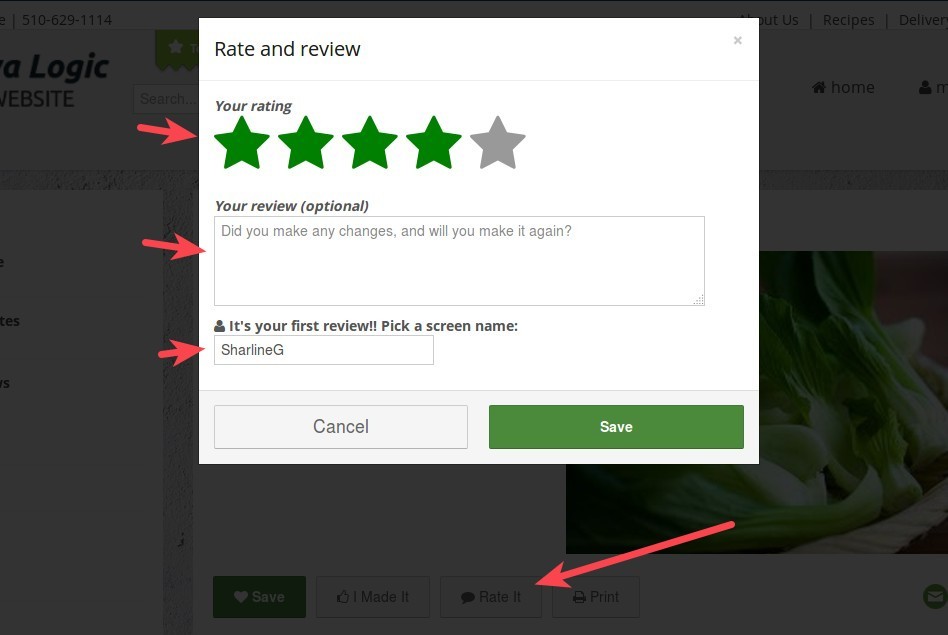
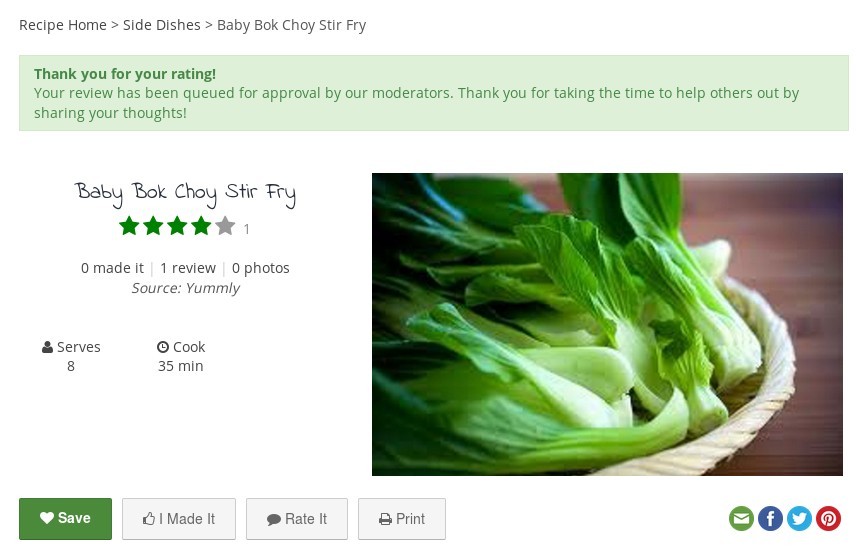
Customers can now rate recipes! They can give a recipe 1-5 stars, and optionally they can leave a message. When they leave their first review, they will be prompted to create a 'screen name' for all of their reviews, which are available to the public. Some people may not want to use their real name, so we leave it up to them.
Review Moderation
When a customer leaves a review, it must first be approved by an admin user. This is so that you can manually read each review to make sure you are ok with it being posted publicly on your website. When there is a recipe that needs to be approved, you'll see a notice on the dashboard:
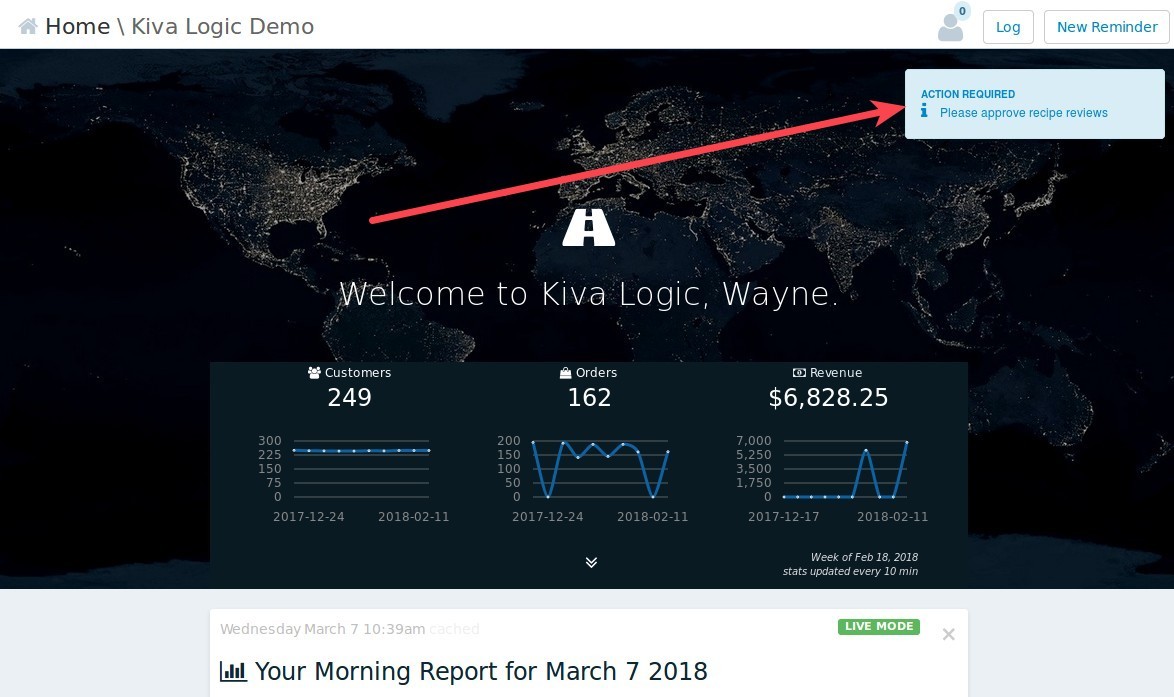
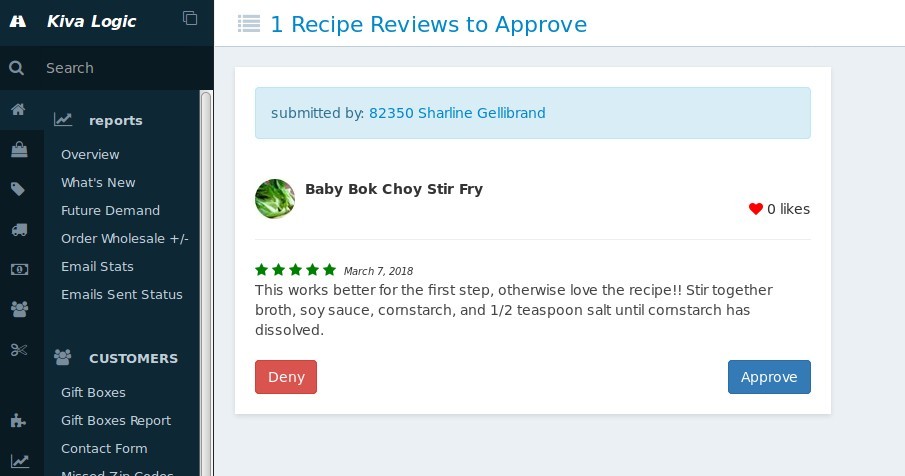
When you click the link that says 'Please approve recipe reviews', it will take you to a page that allows you to read what any pending reviews say. Then, if it is acceptable just hit the 'Approve' button, and if it is not hit 'Deny'. Recipe reviews that have been approved will show up on the website now, and recipes that are denied will disappear into a black hole.
Customer Edit Reviews
Customers can also edit their existing reviews. By doing so, it triggers another 'approval' required by an admin user:
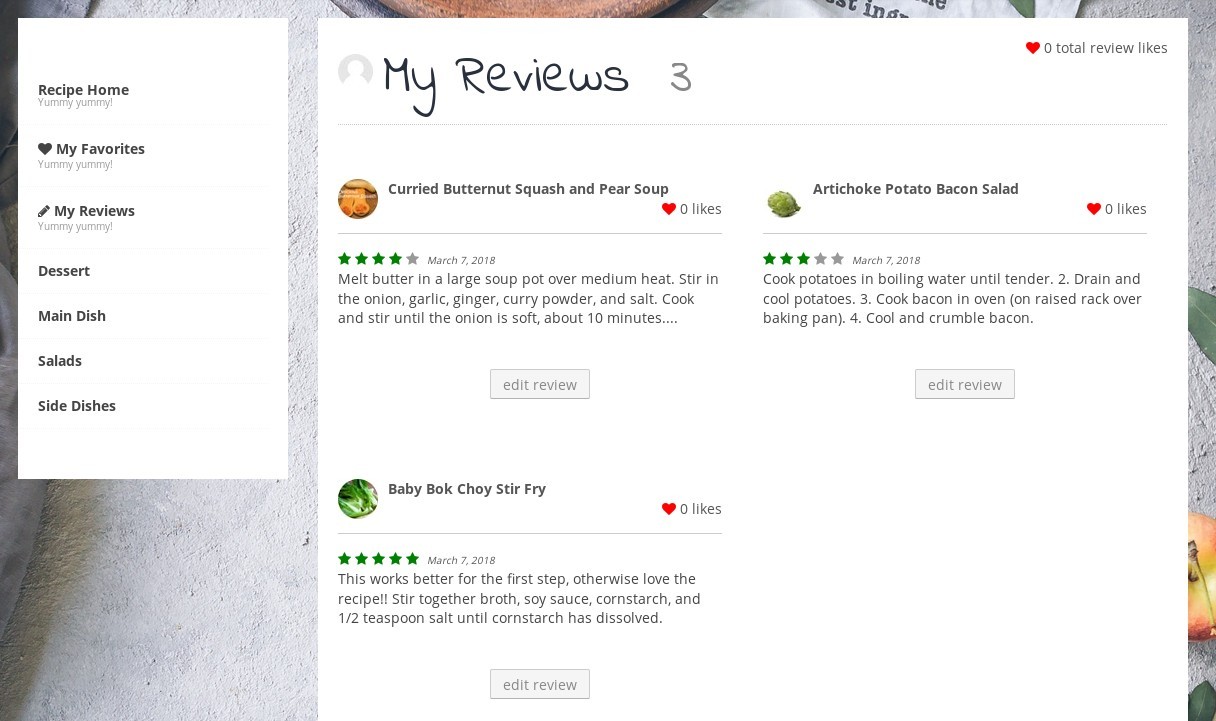
To edit, they just click 'edit review'....
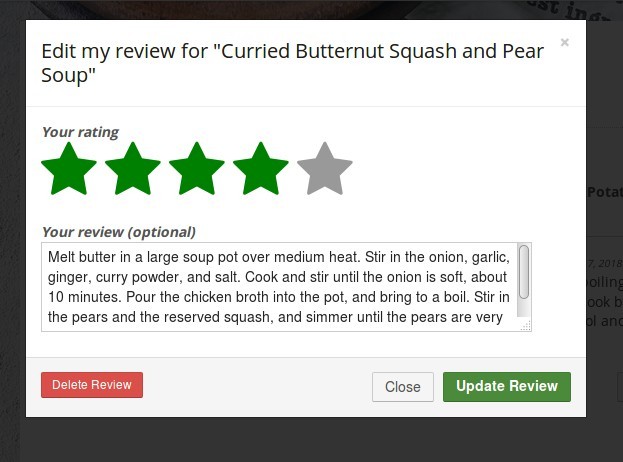
"Liking Reviews"
Customers can also like reviews that are helpful, useful, or that they just.... like!
Recipe Pages for Guests
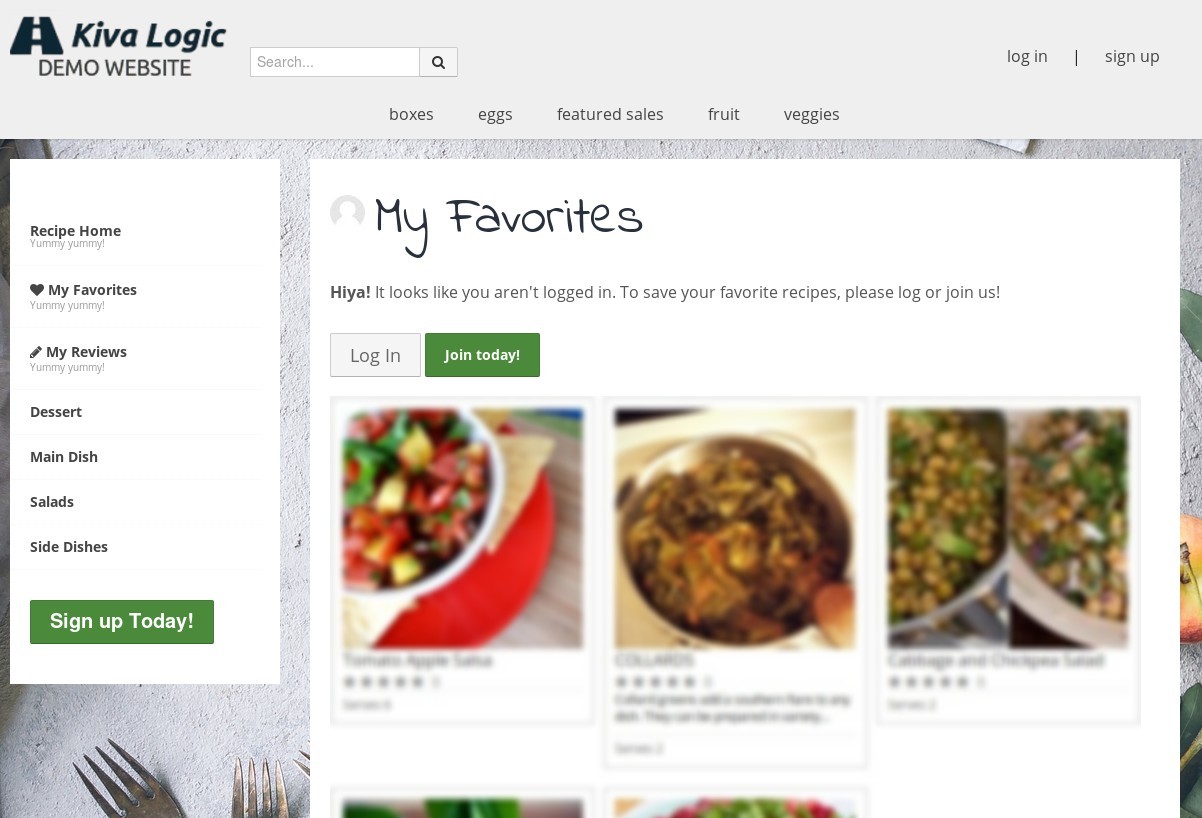
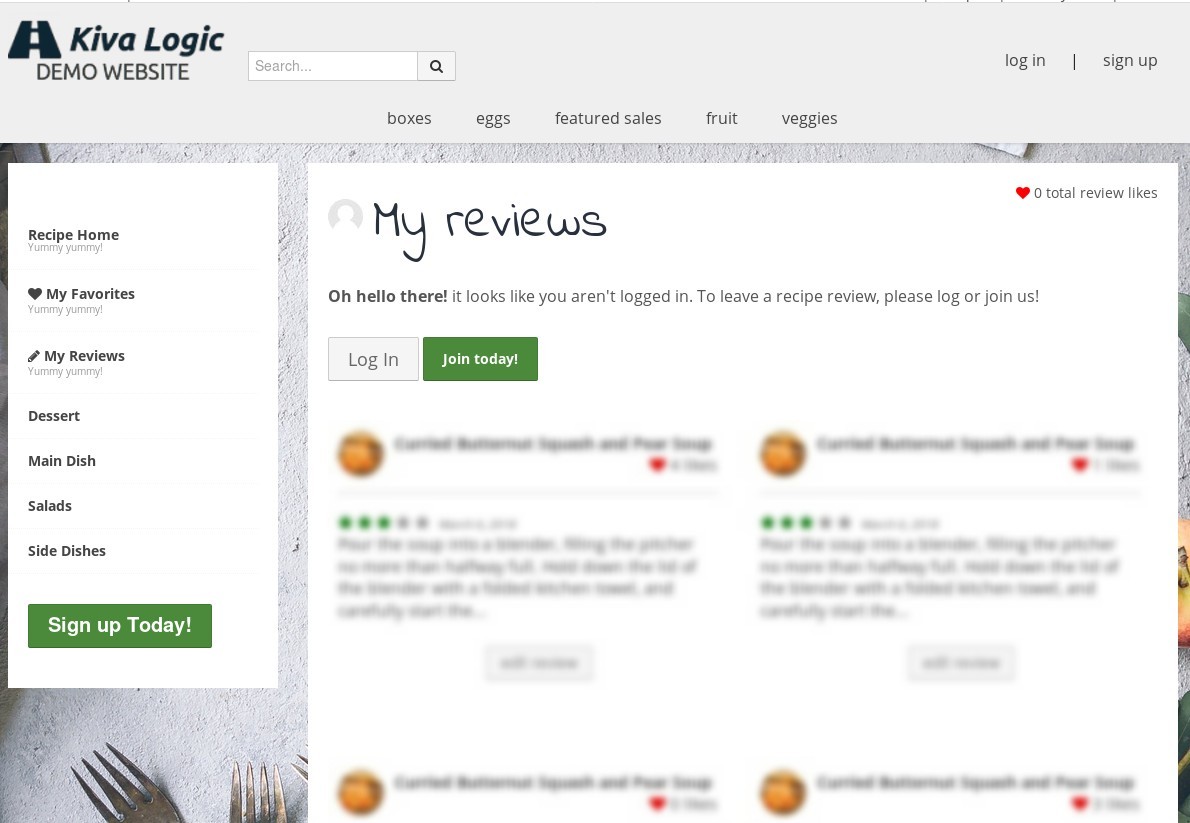
To use the recipe page features, users must be logged in as customers. If they are not customers, they can still browse recipes, but they won't be able to save or favorite things. Here's a few screen shots of what it looks like to someone who is not logged in:
Favorites page:
My Reviews page:
And if the non-logged-in-user tries to use any of the save/I made it/Rate it buttons, they'll see a message like this:
My Reviews page:
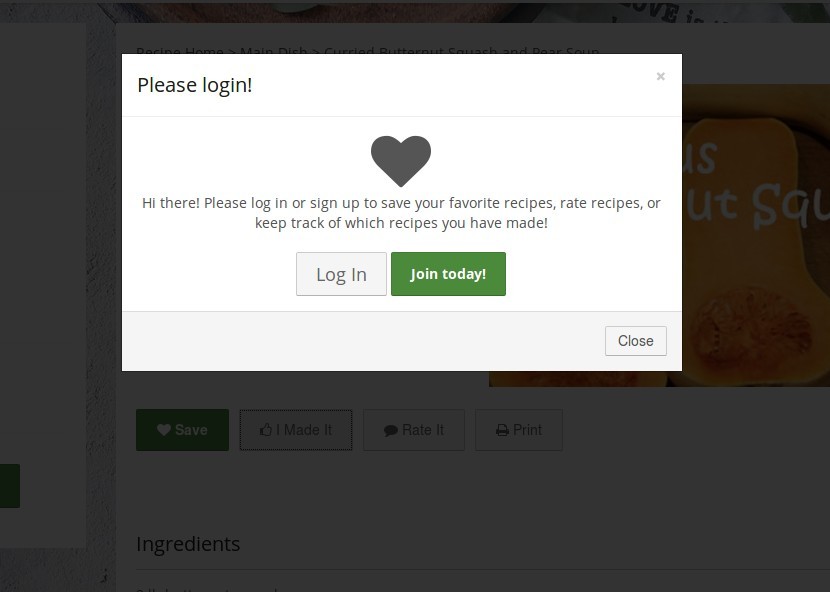
Recipe Administration
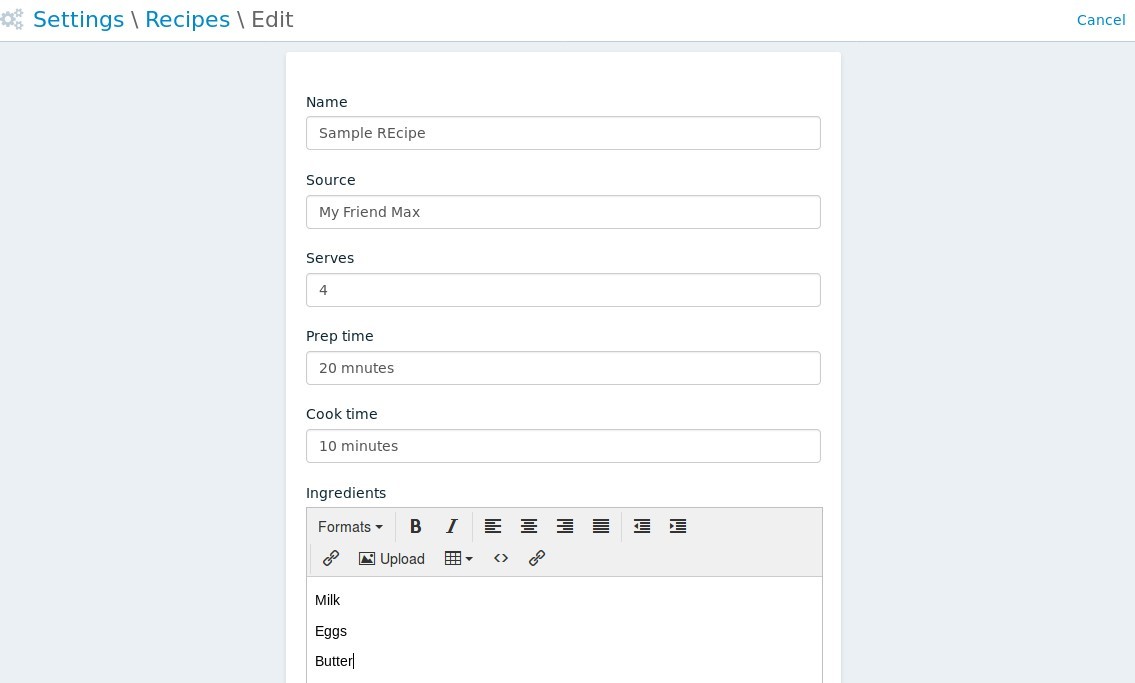
You can add or edit recipes. Each recipe has the basic information like prep time, cook time, serves, ingredients, instructions, and one image.
Enable
To enable the Recipes feature, go to Settings->recipes, or search for 'recipes' in the quick search bar.
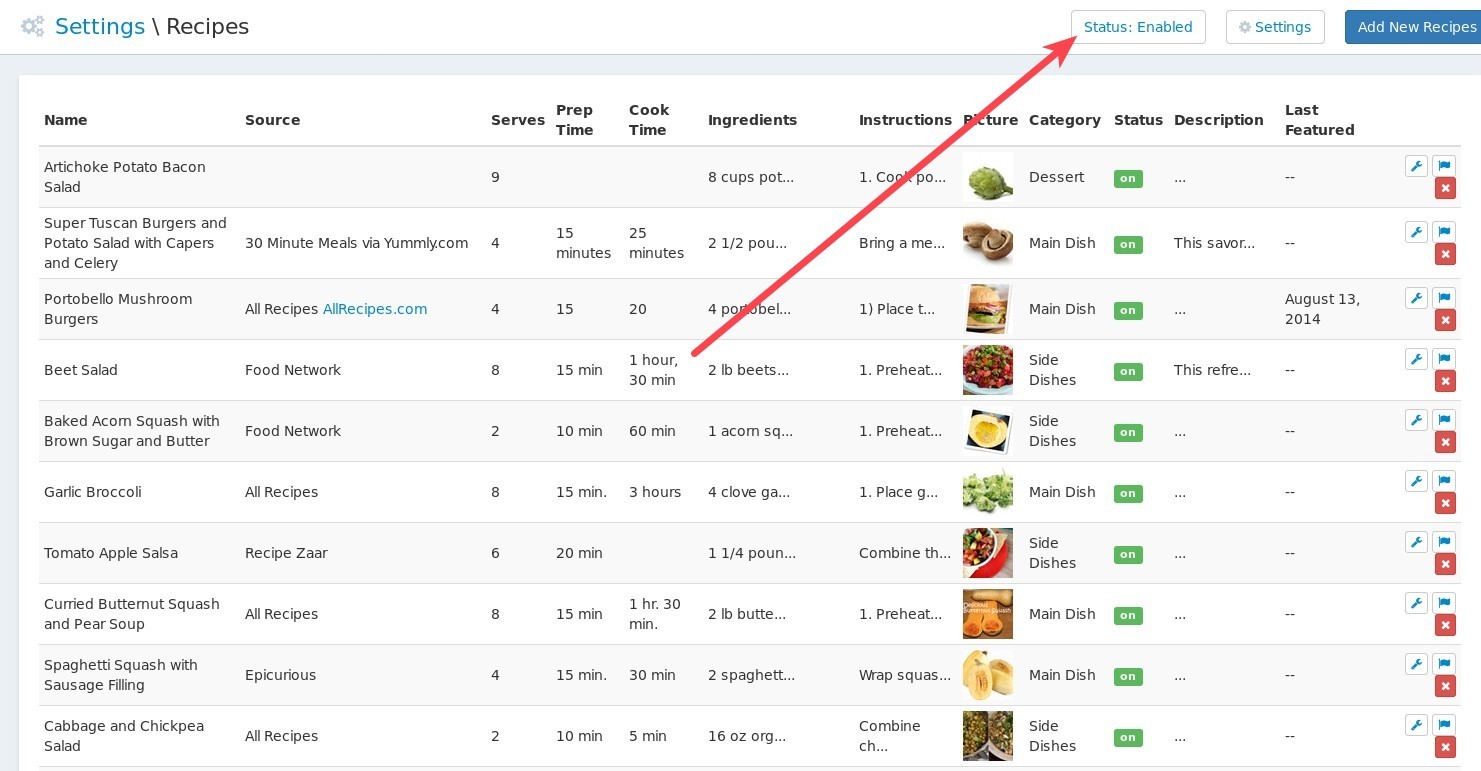
To enable Recipes, click the button that says 'Status:Disabled' at the upper right hand corner. This will add a new page to your website that displays recipes and will add it to your website's navigation. After you click it, you will be able to navigate to yoursite.com/recipes, and the button you clicked will change to say "Status: Enabled".
Featured Recipe
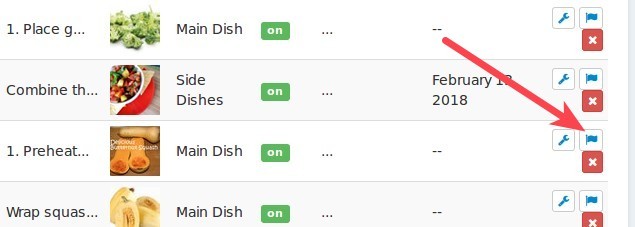
You can select one recipe to be your recipe of the week. This recipe will be featured on the main Recipes landing page on your website, and is used by the two settings below. To set the featured recipe, just click on the little flag icon next to the recipe! That's it.
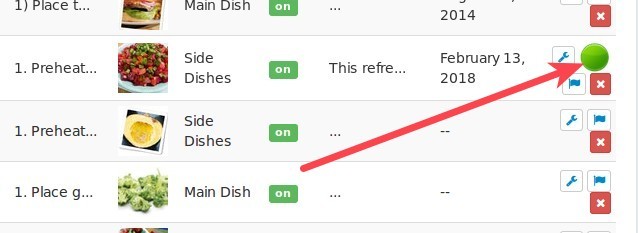
Once you do, you'll see a green circle appear next to the recipe:
Settings
There are two big settings for recipes:
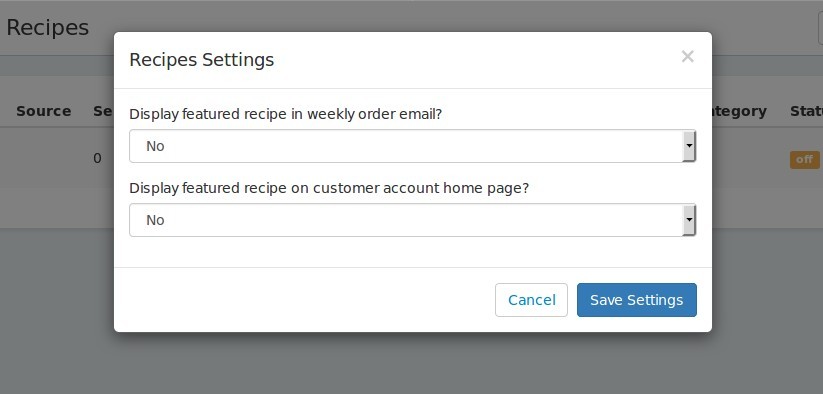
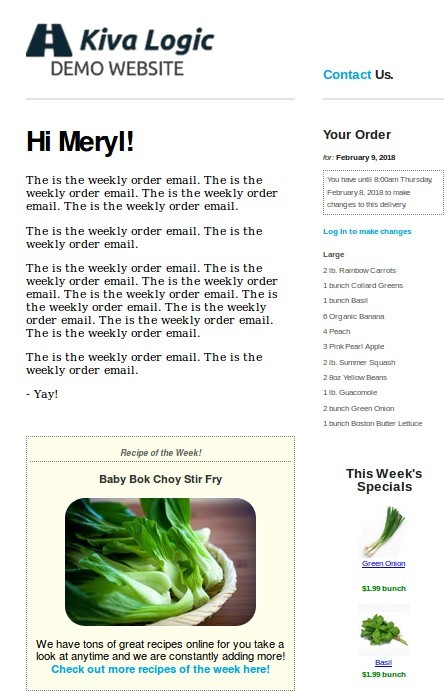
Display featured recipe in weekly order email
If enabled, the featured recipe will automatically be inserted as a section in your weekly order email after the main body content of the email:
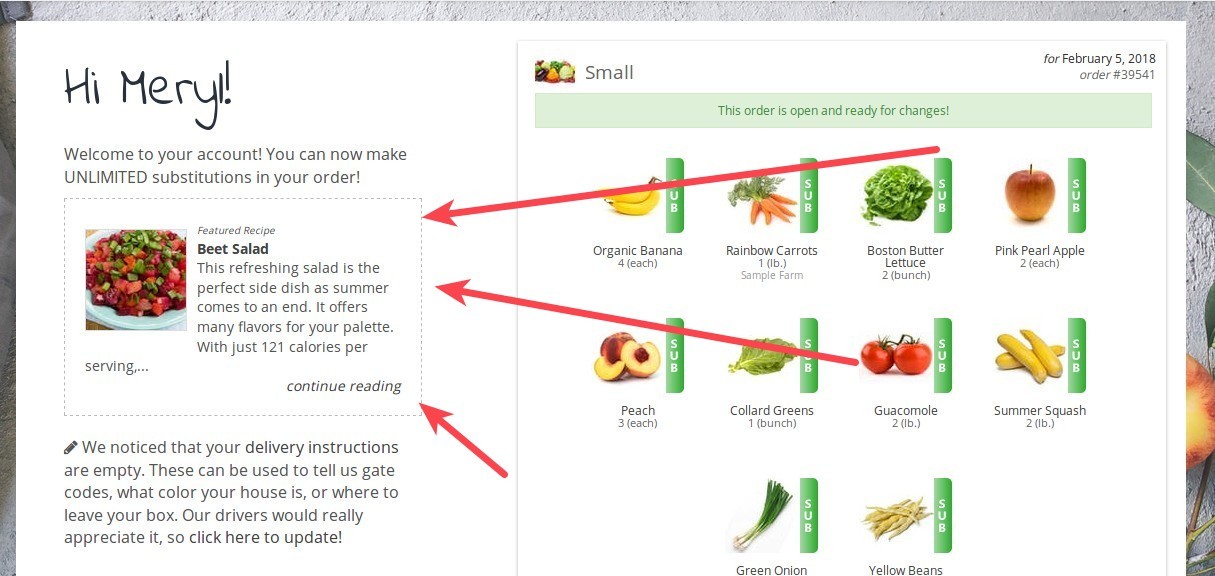
Display featured recipe on customer account home page?
If enabled, the featured recipe of the week will be displayed on the customers home account page, underneath the welcome paragraph text. It will included an image of the recipe, a truncated version of the description, and will link to the recipe on your website.
Recipe Category

If you use the Recipe page feature, these are the categories of recipes that you have. Pretty simple, just type in the name of the recipe category, like "Main Dish", "Salads", "Side Dishes", etc.
