Barcode Scanner Inventory App
The Kiva Logic BarCode Scanner Inventory App allows you to scan the barcode of incoming inventory in your warehouse, set the quantity and classification of the product, and save it to your inventory on Kiva Logic.
You can also view the history of items added via the app, and update quantities or delete entries if you make a mistake.
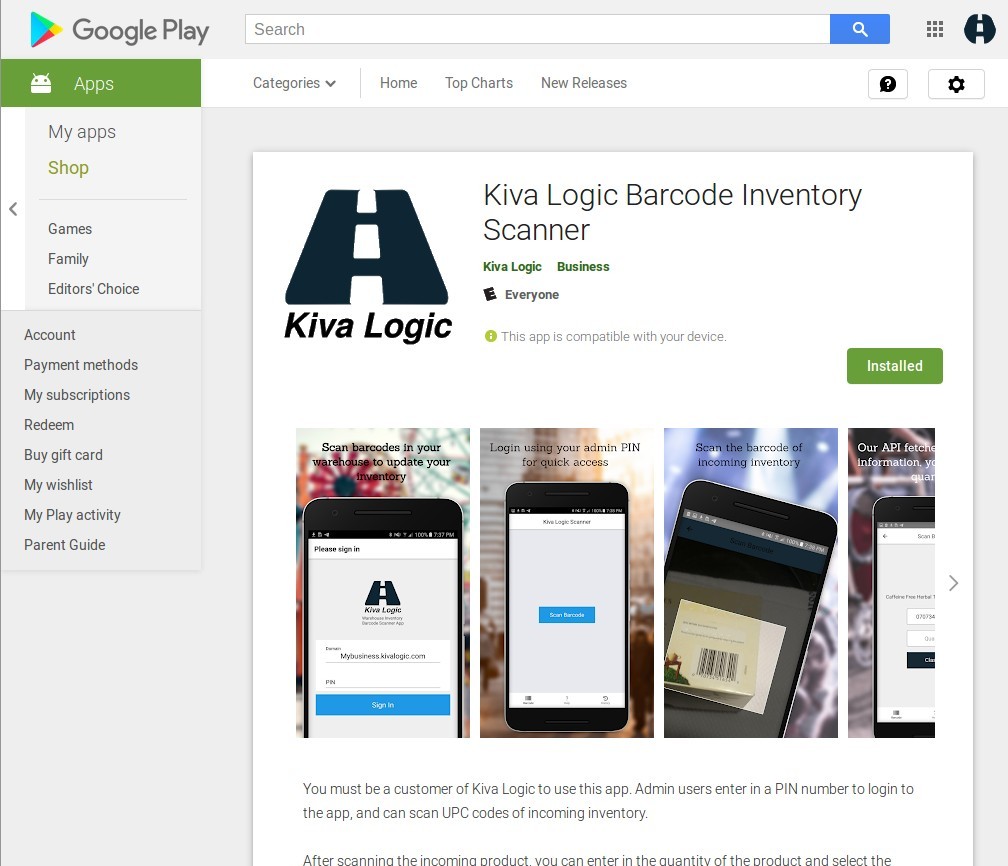
Link to download: https://play.google.com/store/apps/details?id=com.test.barcode
Setting up an admin user
To use the Barcode android app, you must create a PIN for either an existing admin user or create a new admin user. For this example, we'll go through the steps of creating a new admin user.
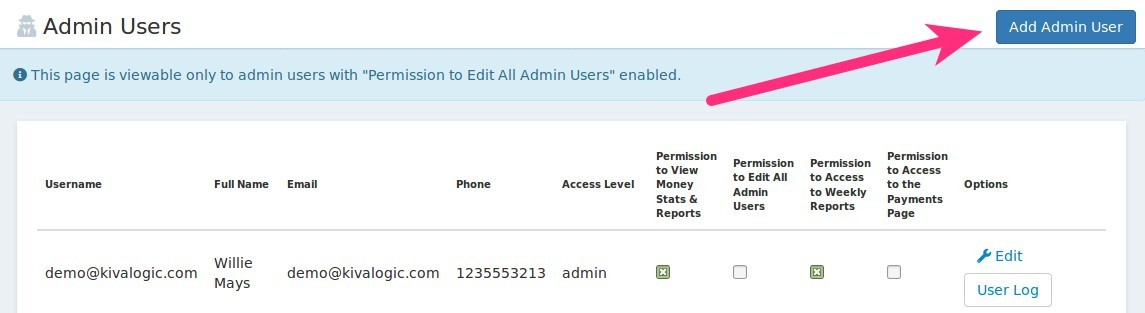
After you are logged in to your Kiva Logic admin dashboard as an admin user with permissions to create other admin users, navigate to the "Admin Users" page, found by searching the quick search bar for "Admin Users", or by going to Settings->System->Admin Users
Next, click on the blue 'Add Admin User' button at the top right of the screen.
Type in the username you'd like to use, create a password, and select the admin type. If this account is going to be used solely in the warehouse and you don't want them to have access to the entire Admin side, select the access level 'Warehouse'.

Now that you have created the new admin user, find the user on the list of admins and click the 'Edit' button next to their user to set up a PIN.

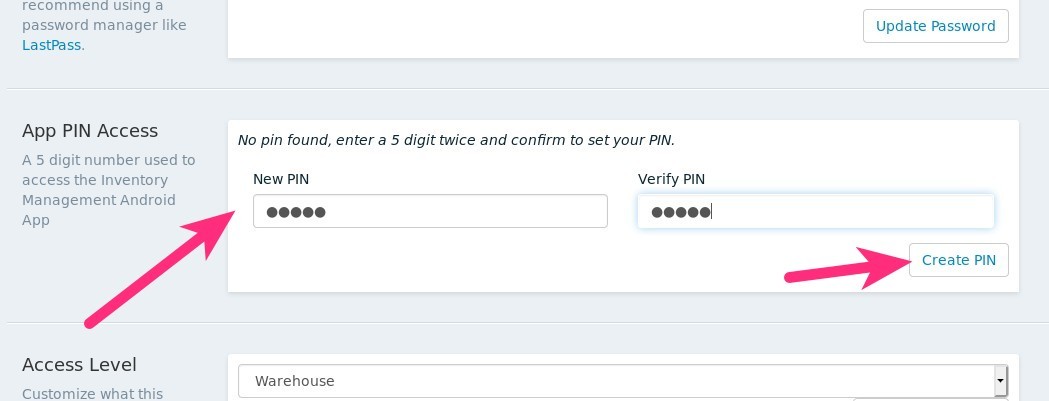
Next scroll down to the section that says 'App PIN Access'. Here, enter in a 5 digit PIN number, enter it again in the 'Verify PIN' section, and click on 'Create PIN'.
If there are no errors, you'll see a green success message.
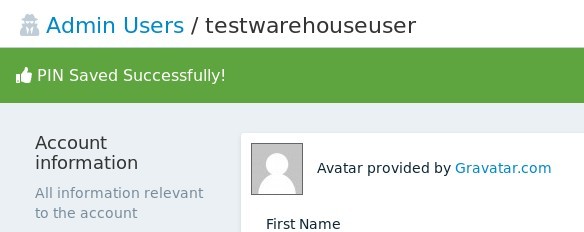
Done! Now you have a new admin user that is ready to use the Barcode Scanner App.
The Android App
First up, download the Android App from the Google Play store
IMPORTANT: you must give the app permission to use the camera! Otherwise the scanner won't work.
Once you have installed the app, open it to display the sign in screen.
Sign in to the App
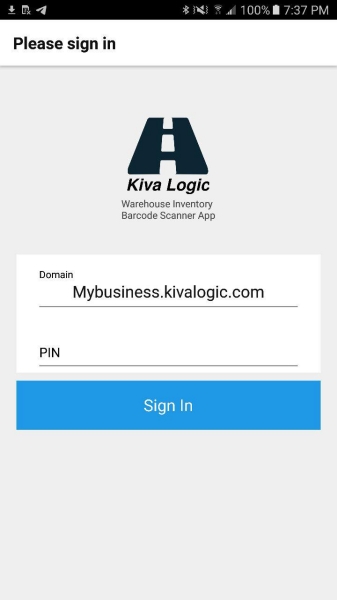
On the sign in screen, you will see two text input fields. One for the domain of your website that is running on Kiva Logic, and the other for the PIN.
If Kiva Logic is running your entire website, you'll enter in your domain like this "www.mybusiness.com". If you are using Kiva Logic on a sub-domain, you will enter in something like this: "mybusiness.kivalogic.com" or "shop.mybusiness.com". The domain you want to enter is the domain you go to when you want to access the admin side of Kiva Logic for your business or organization.
The domain you entered will be saved in local storage on your android phone, so you will only have to type it in once for the very first time you login! After entering in the domain, just type in your PIN, and you will be logged in to the app, and the app will be connected to the inventory API connected to your Kiva Logic database.
By signing in, a local access token will be sent from the Kiva Logic database via the API to the app for local storage.
Scanning a product
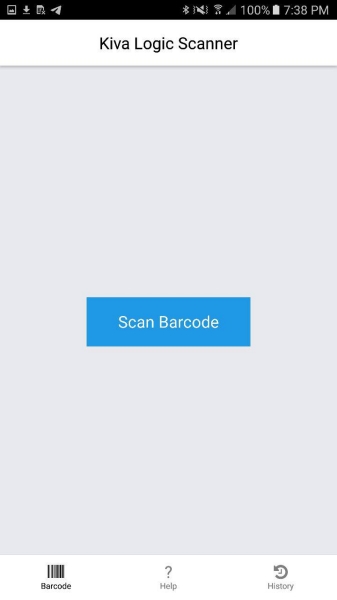
Now that you are signed in, let's scan a product! The initial screen you see after signing in has one button that says 'Scan Barcode'. This is the default or 'home' screen when you are logged in to the app.
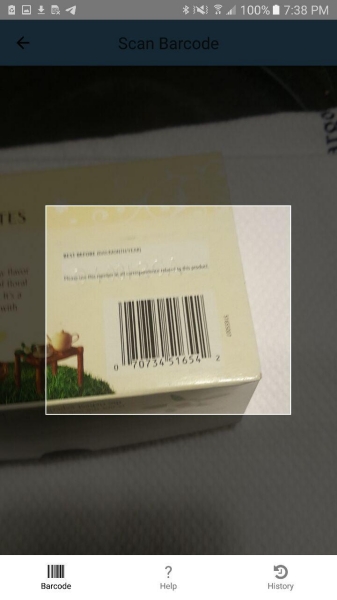
Click on the 'Scan Barcode' button to open the camera view that allows that App to look for and scan a barcode. Hold the box around the barcode you wish to scan, and when the camera focuses, the scan will be complete and you'll be taken to the next screen.
Product Barcode API lookup
When the app scans a barcode, it will contact the Kiva Logic API to do a lookup of the barcode to see what (if any) information we can find on the product.
Currently, the Kiva software is using the openfoodfacts.org API as a third party to lookup information. When the KL API receives a barcode that has not been scanned and stored in the system database, the system makes an API call to openfoodfacts.org to see what information we can gather about the barcode that is scanned. This data is stored in your Kiva database for future reference, and the results are sent back to the Android App.
These results are then stored in your Kiva Logic database so we can attach them to product classifications and so that we don't have to do another external API lookup if we have already scanned the barcode before. It's also a bit faster if we can pull the results for a barcode locally vs. having to wait for a third party API to provide the information.

By storing the results to your KL database, we can increase lookup time for future scans of the same barcode AND we can link the barcode to one of your product classifications. This allows future scans to be smarter in knowing what product you are actually scanning and how to easily link it to an existing classification in your database.
Setting the quantity
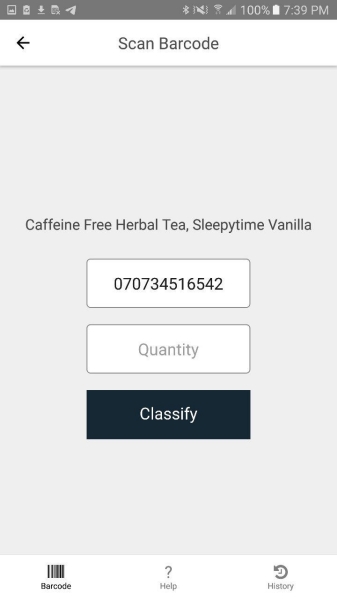
The next screen will show the name of the product scanned that was returned by the barcode API lookup that we perform, shows the actual barcode digits, and allows you to set the quantity of the product.
For example, if you are scanning in some herbal tea and you have 120 boxes of it, you would type in '120' in the quantity text input.
After typing in the quantity, click on the 'Classify' button to select the product classification for the product.
Selecting the Classification
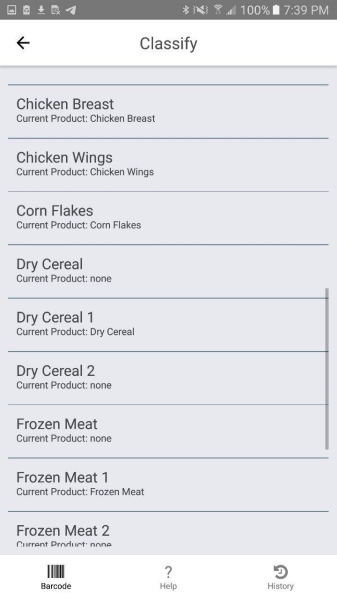
This screen will show you a list of all your product classifications. This list of classifications is pulled from your Kiva database via an API call from the App. Each entry will tell you:
The classification name
- If there is an active product in your database that is using that classification
When you find the right classification, simply tap it! You will be asked to confirm the data you've entered, so then just hit 'ok'.
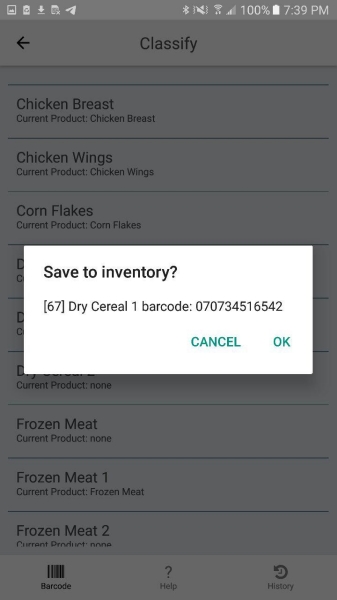
After you save it, the app will call the system API and do one of the following things:
if the entry is being saved to an existing product, it will create an inventory history entry and update the "in stock" number based off the quantity you entered.
- if the entry being saved is to a classification without an existing product, a new active product will be created and it's "in stock" number will be set to the quantity that you have entered. A new inventory history entry will also be created.
Editing the quantity
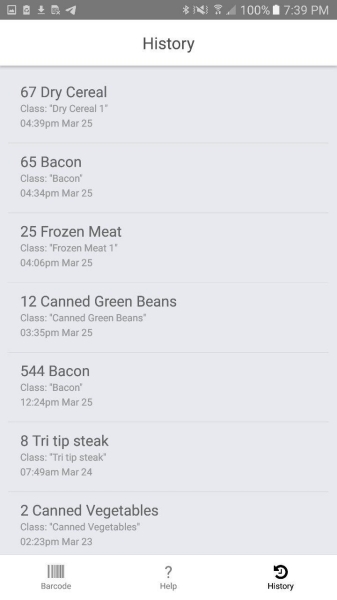
If you find that you have made a mistake, you can go to the 'History' tab of the App to fix it. You can pull down to refresh the history page, and when you find the entry you wish to edit, just touch it.
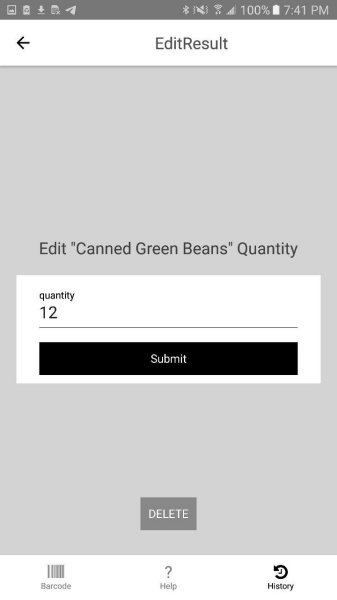
If you want to change the quantity, enter in the new number and click 'Submit'. This will do one of three things:
if the new quantity is higher, it will update the inventory history entry in the database via the API, then it will update the active product attached to the entry by increasing the "In Stock" by the difference between the old quanity value and the new quantity value
if the new quantity is lower, it will update the inventory history entry in the database via the API, then it will update the active product attached to the entry by decreasing the "In Stock" number by the difference between the old and new quantities.
- if the quantity is the same, it does nothing :)
There is also a button on this screen that allows you to completely delete the inventory history entry. If you do this, the 'quantity' will be removed from the active product's "In Stock" number and the inventory history entry record will be marked deleted. This is useful if you mess something up and want to completely start the scanning process over for some inventory you are receiving.
Signing Out
To sign out, just go to the 'Help' screen on the app and there is a big blue button that will sign you out of the app.
Inventory History Entries
Each time you scan a product with the barcode scanner app and save it, a new inventory history entry is created. This is so that we have a record of who scanned the product, when they scanned it, and what classification/active product it was attached to. This also allows us to make it easier on ourselves in the future by being able to automatically link barcodes to classifications, so the app can help you select the right classification quickly.
On the admin side, there is a new page called... you guessed it! "Inventory History".
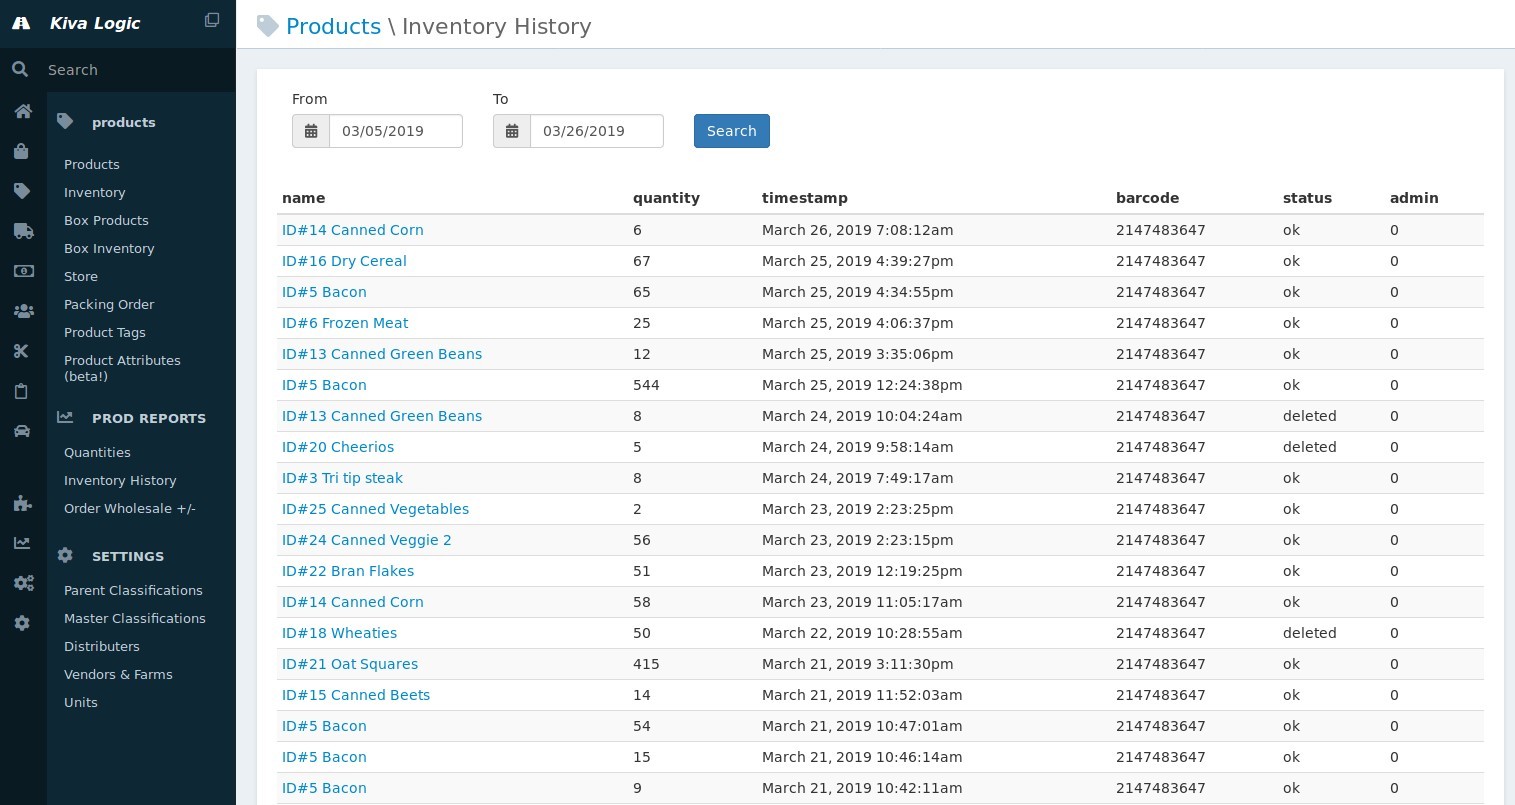
This page allows you to filter by a time range and displays all inventory history entries.
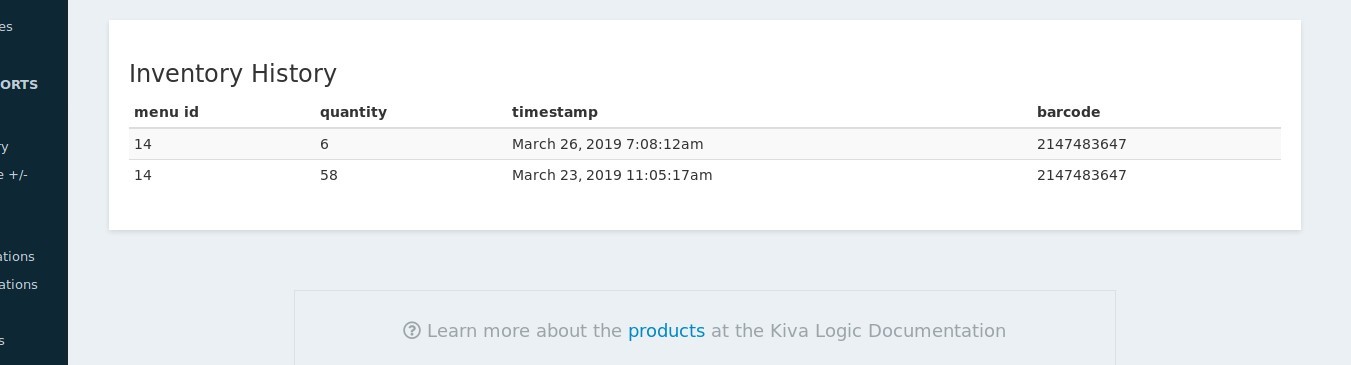
There is ALSO a new section when viewing a product detail page at the very bottom that will show the inventory history for just that product.
Conclusion
That's it folks! This is the alpha version of the App, and we'll keep this document updated as new features or changes occur. Any questions, please just contact hello@kivalogic.com.