Drip Email Campaigns Convert Customers
The Kiva Logic software allows you to create Drip Campaigns that will target new customers, cancelled customers, missed sign-ups, and re-activations all in an attempt to convert them into long-term loyal customers. A Drip campaign can be set up to send a series of pre-written emails to your target audience at pre-determined intervals. For example, you can create a campaign to target new customers that might look like this:
Day 1, send email titled '5 things to get started!'
Day 2, send email titled 'Set up your preferences to customize each order automatically'
Day 5, send email titled 'Get the Most out of Your Account'
Day 10, send email titled 'Did you know you can add more to your order?'
- Day 18, send email titled 'Make Subs like a Pro'
Drip campaigns are a proven method to boost customer interaction and retention with your business.
The best Drip campaign you can set up is one targeting your missed signups. This will keep your name in front of their inbox and allow you to point out all the numerous reasons that they should become your customer! A well-crafted string of emails created once can do all the work automatically for you.
If a customer is already on one campaign and triggers an action that will move them to another campaign, they will automatically be un-subscribed from their original campaign. For example:
Bob signs up as a customer, and is automatically added to the 'New Customers' Drip Campaign. Bob receive an order, a few of your drip campaign emails, but ultimately decides to cancel his account. When he cancels his account, he will automatically be moved from the 'New Customers' Drip Campaign to the 'Cancelled Customers' Drip Campaign. Then he'll start receiving the emails you have set up in your 'Cancelled Customers' drip campaign- the goal of these emails is to entice the customer back to your service and can be VERY affective. Here are a few resources to learn more about drip campaigns and emails:
10 Drip Campaign Examples and Why They are Successful by moosend.com
3 Drip Campaign Emails with An Above 40% Open Rate - HubSpot
- 7 Lessons from Top Performing Drip Email Campaigns - Kissmetrics
Inbound Sources
New Customers
Send this campaign to new customers that have signed up. This can be useful for an onboarding process.
Missed Signups
Send this campaign to potential customers that started the sign up process, but did not complete, but we have their email address. Use this one to help convince potential customers to sign up.
Note- if you have this campaign enabled, the 'Missed Signup' default email will still send! The 'Missed Signup' email is fired within 30 minutes of potential customers abandoning the sign-up process.
Customers who Cancel
Send this campaign to customers that cancel their service. This can be used to try to woo them back!
Exit Intent Popup
When a potential customer visits your website and their mouse moves to the top of their browser as if they are exiting the page (or closing your tab), you can show a pop-up for a last ditch effot to get their email address. Read more about exit intent popups.
Gift Purchaser
When a user purchases a gift delivery on your site, they will get added to this list. They are not full customers, so this campaign should be used to tell them why they should become real customers.
Stopped Trial Accounts
If a customer signs up to receive a trial delivery, they will have a schedule of 'trial'. After their first delivery, their account is automatically placed on hold. If you have a campaign for 'Stopped Trial Accounts', when a trial account is stopped, the customer will be placed on this drip campaign.
Other
We may add more inbound sources, such as custom 'newsletter' email inputs on the front side for potential customers. Have ideas of new inbound sources? Shoot us an email to hello@kivalogic.com
New Campaign
To create your first campaign, navigate to Settings->Drip Emails, and click on the button at the top right that says 'New Campaign'
Choose a name for the campaign, like "For New Customers", then select your inbound source. An Inbound Source is the location that emails are collected from and added to the campaign list. For this example, we'll choose 'New Customers'.
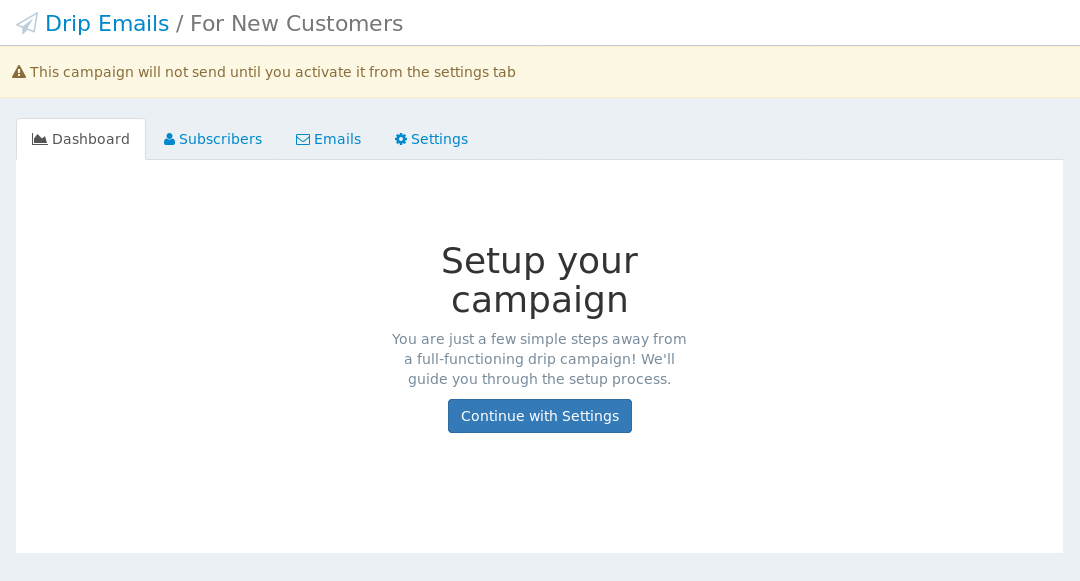
Update Campaign Settings
The next step is to update the setting for your new campaign. Click the button 'Continue with Settings', or click on the settings tab to continue.
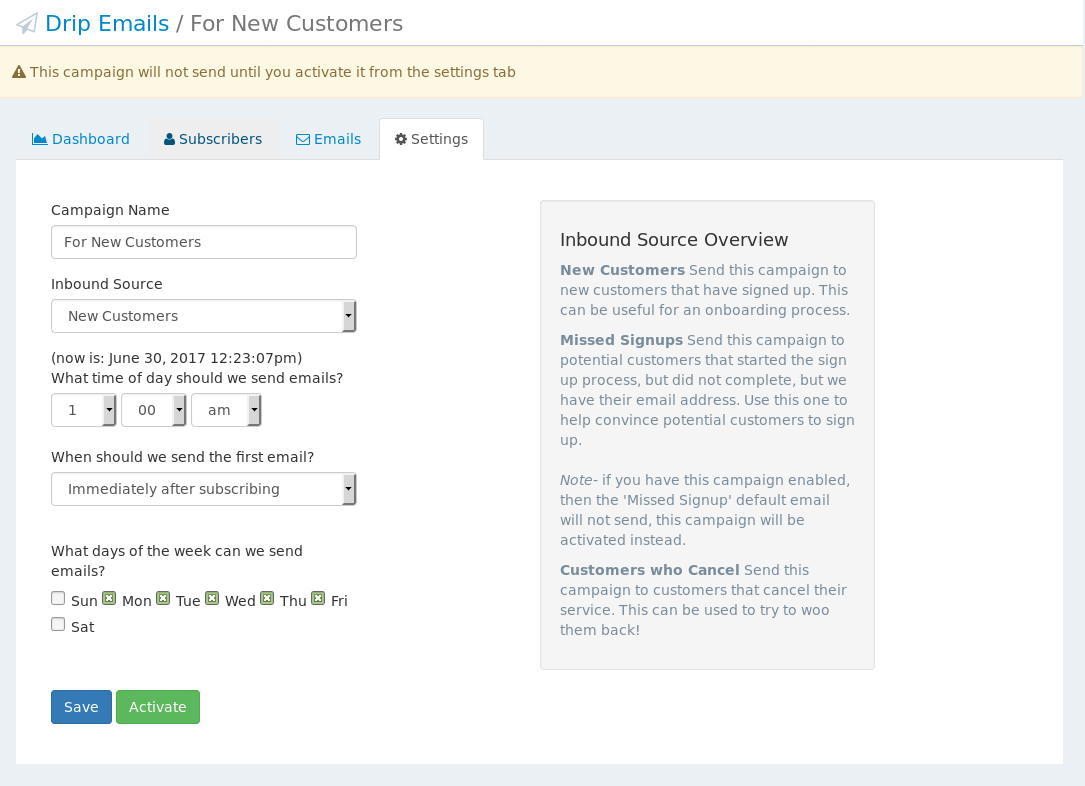
Campaign Name: Whatever you'd like to call this campaign. Customers do not see this name.
Inbound Source: The source for where emails are collected from (read the section above on Inbound Sources)
What time of day should we send emails: Pick the hour, minute, and am/pm of when these emails should go out. Please note the software will use this with a time window to allow for wiggle room.. if you choose 5:20pm, your emails may go out anywhere betwee 5:10pm and 5:30pm.
When should we send the first email? You can have the first email of the campaign set to send immediately after the subscriber has been added to the Drip campaign, or you can have the system wait until the next time of day that the drip campaign emails are normally sent at.
- What days of the week can we send emails? Usually it's best to send emails from Mon-Fri, but you can choose and select which days to allow the emails to go out.
When you have updated all of the settings, click 'Save'.
Create the emails for your campaign
Click on the 'Emails' tag to start adding the emails that you want your campaign to send. On the "Emails" tab, click on the button at the top right that says 'Add an Email'.
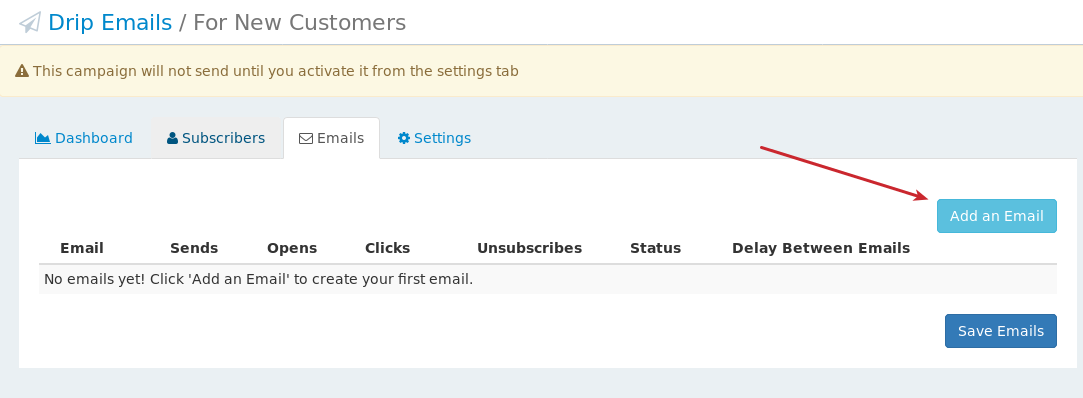
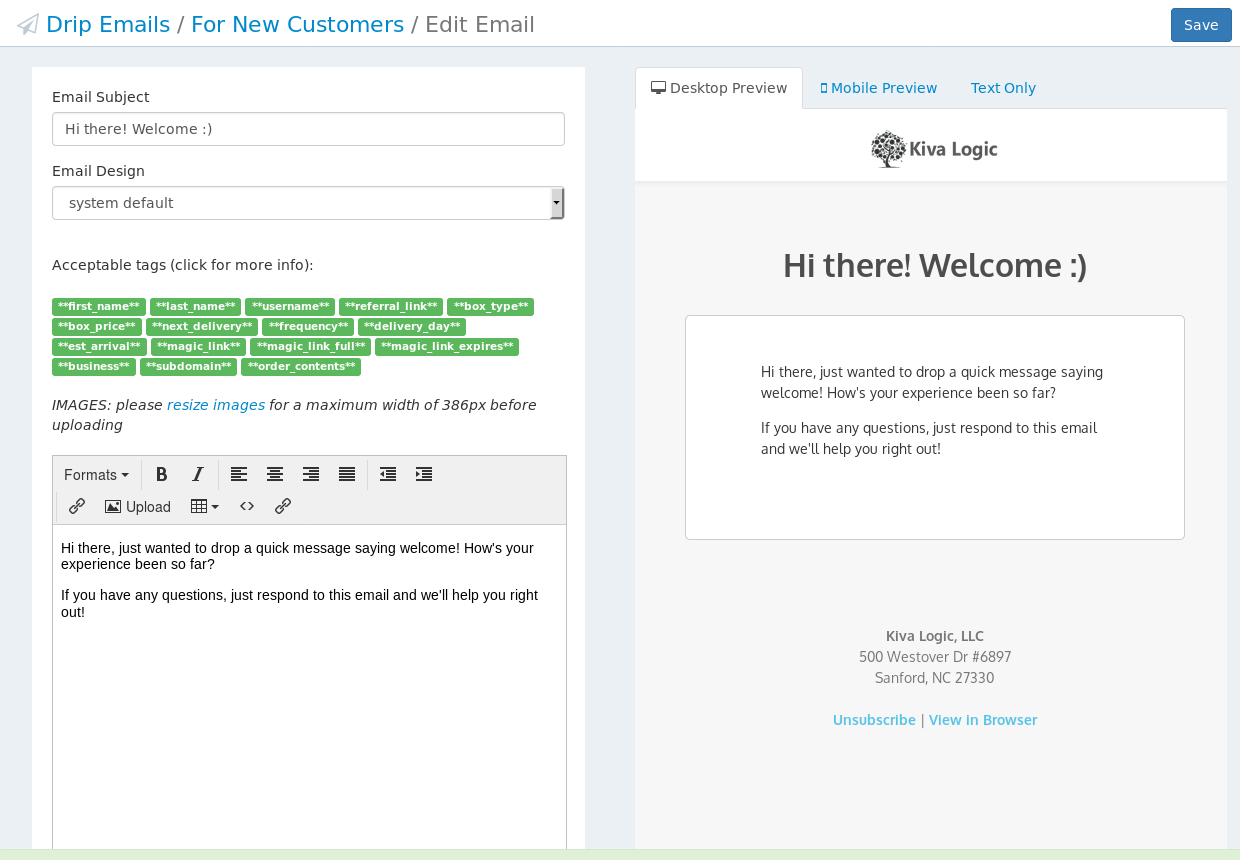
On the next page, be sure to fill in the subject, the body of the email, and then save it. Once you are done, click on the name of your campaign to return back to your Drip Campaign's email overview.
Set the delay and publish your emails
Once you've created all the emails you want to be sent in your campaign, the next step is to set the delay between when each email is sent, and to change the status of the email from Draft to Published.
You can sort the order that the emails go out by click and holding onto the dragging icon at the far left (it looks like a hamburger, so you can rearrange them into any order you want.
Once you are happy with the order of the emails, set the delay between when each email goes out. In the screenshot above, the customer would receive the first email immediately, the second email would be 2 days after that, and the third email would be 5 days after the 2nd email was sent, and so on.
Now that you are happy with your emails and their settings, set them all to 'Published'. This tells the system to include the email in the campaign once the campaign is live.
Subscribers
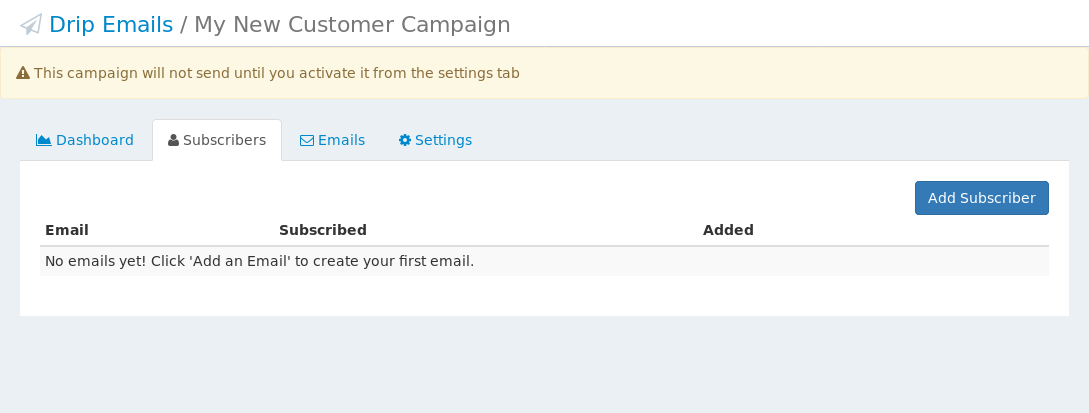
This is a list of email addresses that have joined this campaign. You will be able to see when the subscriber was added, and whether they are still currently subscribed.
If a subscriber joins another campaign (maybe by cancelling their account), then they will automatically be un-subscribed from any previous campaigns. The reason we do that is so that a customer is not receiving multiple drip campaigns at once. It makes no sense for a customer to continue receiving a 'new customer' campaign if they have cancelled! It only makes sense for them to start receiving the cancelled campaign.
You can also manually add a subscriber by clicking the 'Add Subscriber' button at the top right of the Subscribers page.
Activating a Campaign
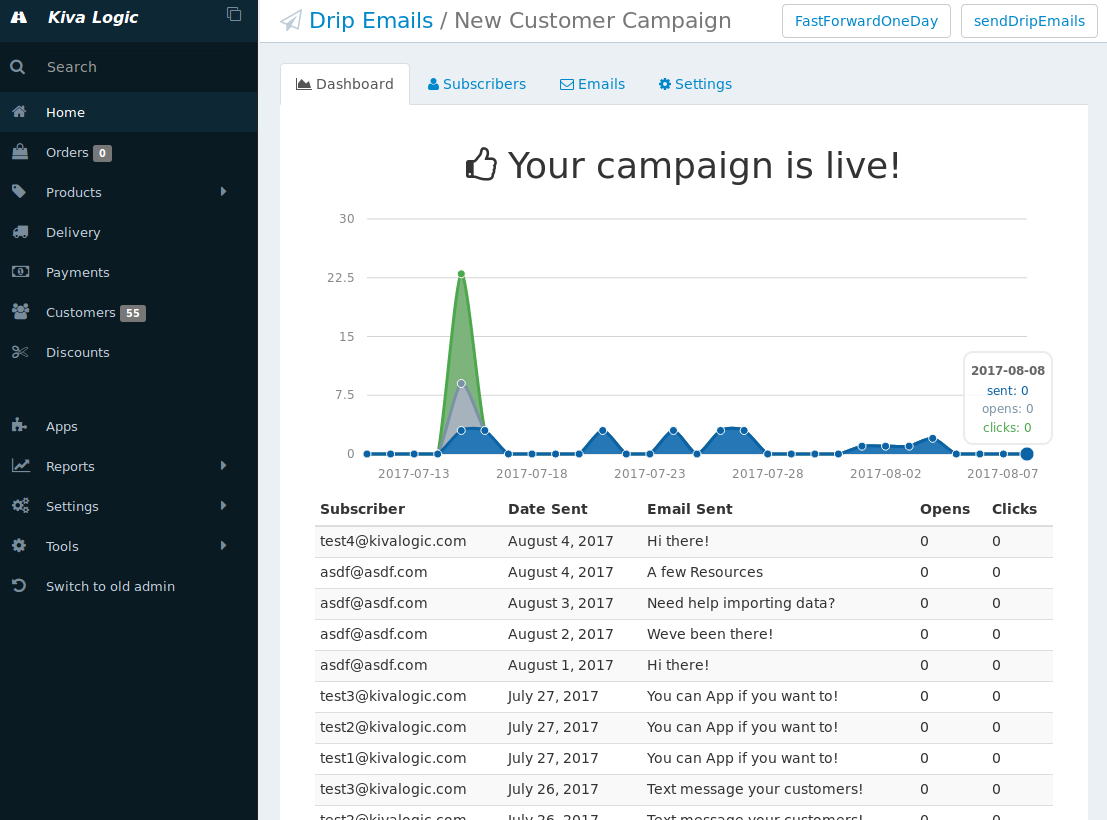
Once you have set up your campaign emails and updated your settings, it's time to go live. To that, simply navigate to the settings page and click the green 'Activate' button. Once a campaign has been activated, it will start collecting subscribers. For example, each new customer you receive will be placed on the active campaign for the inbound type 'New Customer'.
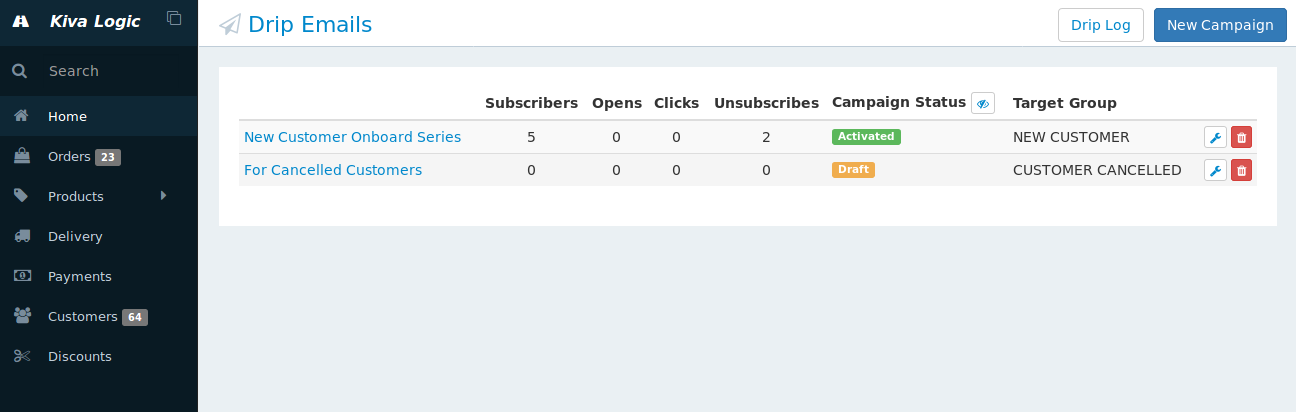
That's it! Sit back and let the software do all the work. You can revist the Drip campaign page at anytime to see an overview of how many subscribers each campaign has, how many opens, clicks, and what the results of a campaign are.
Importing Existing Customer Accounts
Added in February of 2018, you can now import existing active, cancelled, and stopped trial customer accounts to a Drip campaign.
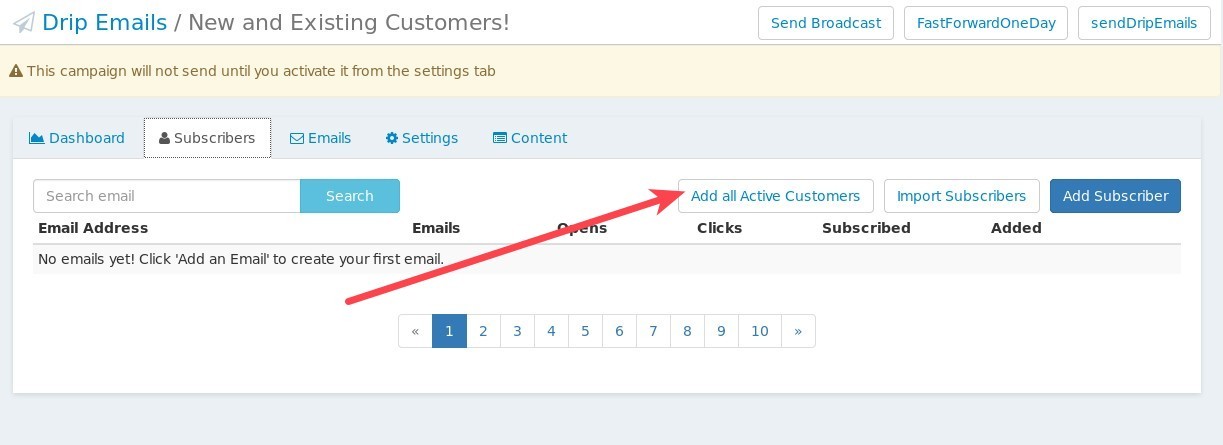
Import Active Customers
If you create a new Drip campaign for "NEW CUSTOMERS", you might want to add in all of your existing active customers, right? This way they can learn more about your business and receive the information contained in your drip email campaign. After you create and set up your new campaign for "NEW CUSTOMERS", go to the subscribers page and click the button that says "Add all Active Customers".
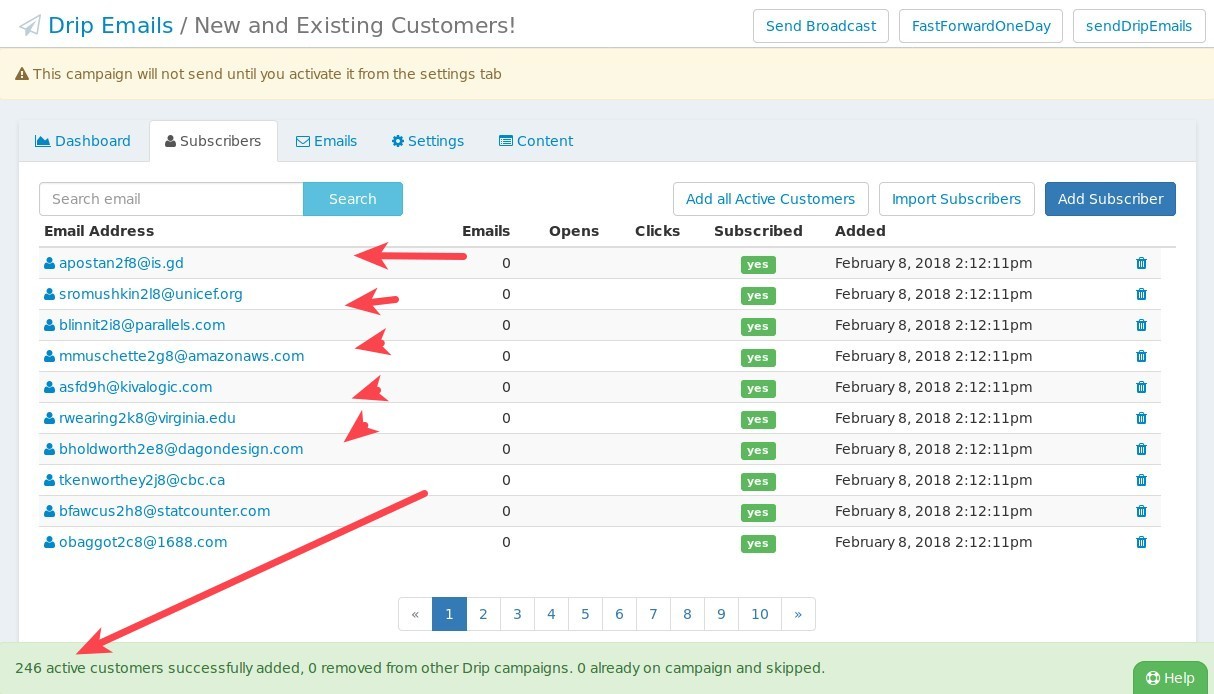
When you click that button, all active customers will be added to the campaign, AND if they were on one of your other Drip campaigns for any reason, it will remove them from the old campaign.
Nifty! Now we can see all the active customers that were added to this drip campaign, and a status message at the bottom of the screen will tell you how many emails were added to the drip campaign as well:
Import Cancelled Customers
The same exact thing goes for adding all cancelled customers to a "Customer who Cancelled" campaign. There is a new button when viewing the subscribers page that says "Add All Cancelled Customers" that will do the same thing as described above, only for cancelled customers instead of active customers.

Import Stopped Trial Customers
The same goes for importing Stopped Trial customers. On the Subscribers page, you will see a button that says "Add all Trial Customers". This will import every customer that is stopped and has a schedule of 'trial'.
Import Note
You only have to hit these buttons once- if you hit twice by accident, don't worry, nothing bad will happen. Once the campaigns are live and running, the system will sort people who become customers or who cancel into the right drip campaign automatically.
Export Drip Email Subscribers

Added July 2018- there is an 'export' button on the Drip Subscribers page that will give you a CSV of all the subscribed email addresses for the given drip campaign. This is useful for if you want to do a retargeting campaign, or perhaps use a third party service like MailChimp to send an email.
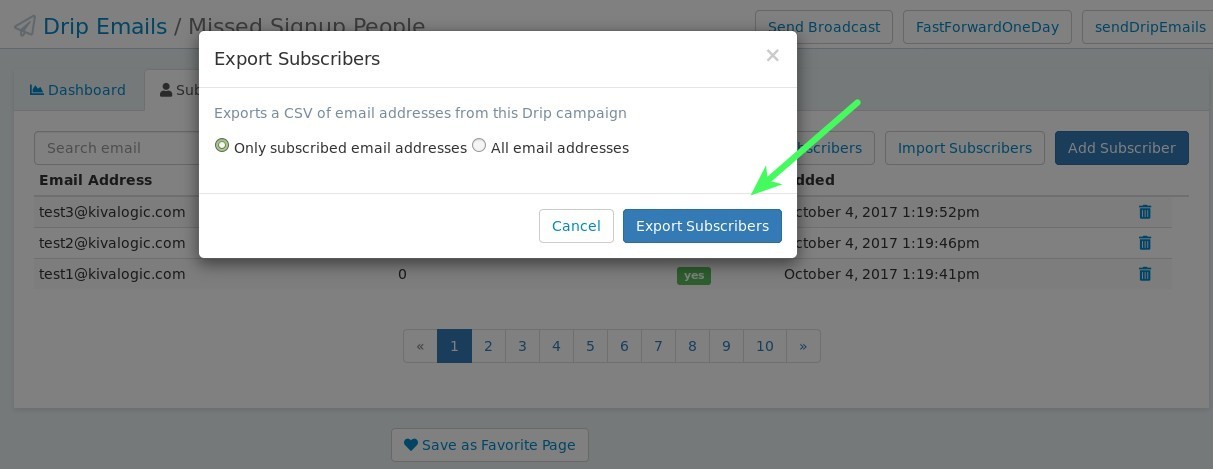
The Modal window that appears will give you two options for your download, only subscribed email addresses, or ALL email addresses (which includes people that never completed the dual opt-in process or have unsubscribed).
Select the option you want, and click on 'Export Subscribers'. Done!
Sending a Broadcast Email
You can also send a one-time broadcast email to all subscribers of any of your drip campaigns. You can send this email at any time, and it will not interfere with the drip subscriber's normal drip email cycle.
This is useful for one-time deals, sales, or announcements that don't necesarrily fit in to your drip email campaign, but could still be valuable for the drip subscriber. Click this link to learn more:
How to send Broadcast Emails to Drip Campaign
Still have questions? Send us an email to hello@kivalogic.com and we'll be happy to help.
Customizing the Email & Content
You can customize the verification email, the "Please check your email to verify" page, and also the "Your email has been confirmed" page.
Use the new 'Content' tab on the Drip Email Campaign page to update these settings. If no custom content is provided, the system defaults for each will be used instead, so this is totally optional.
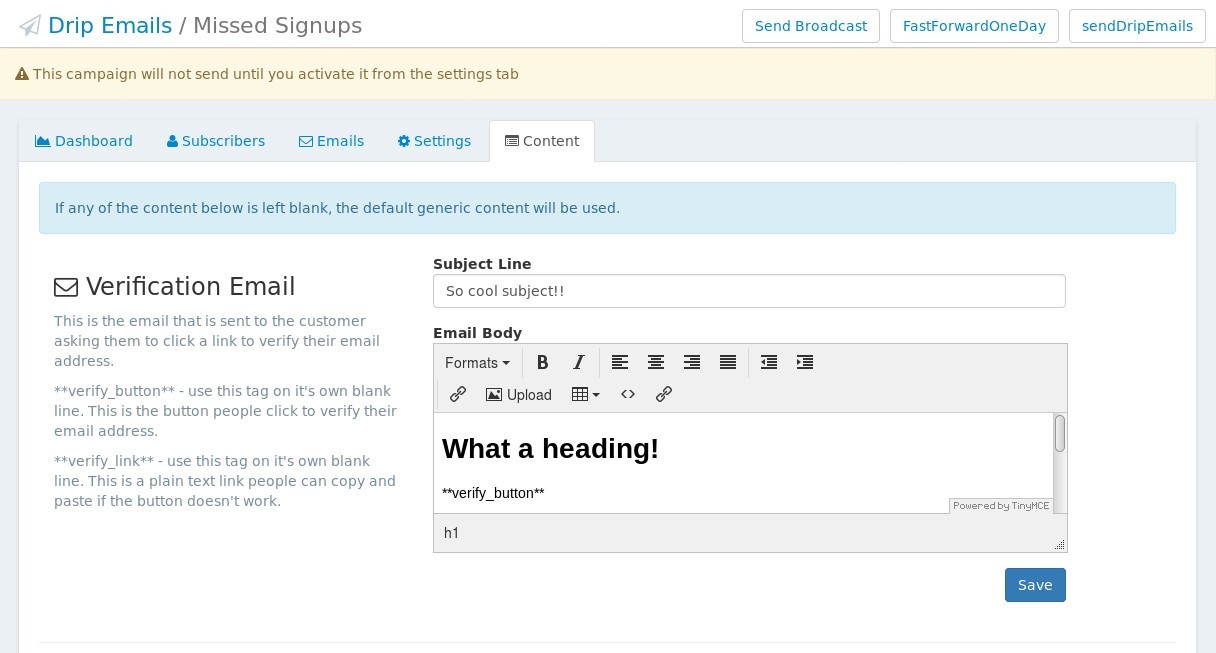
Custom Verification Email
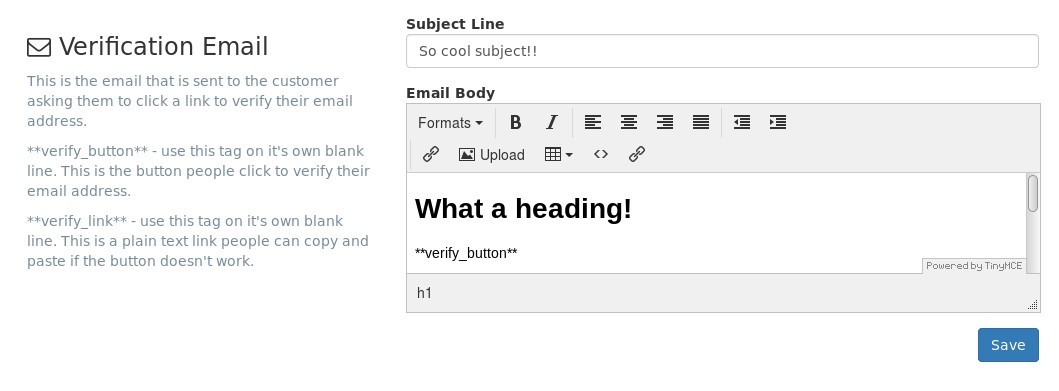
For the Email, you can should include both of these custom tags:
**verify_button**- use this tag on it's own blank line. This is the button people click to verify their email address.
**verify_link**- use this tag on it's own blank line. This is a plain text link people can copy and paste if the button doesn't work. ### Custom Check Your Email Page  After a user enter's their email address, this page is displayed and should ask them to click on a link sent via email to verify their email address ### Email Confirmed Page  Once the user clicks the link in the email, this is the content they see that should say 'thank you, email address has been confirmed!'